MSP360 RMM
MSP360 RMM: Optimal Installation and Deployment Scenarios
Installing and deploying MSP360 RMM is straightforward and designed to fit various usage scenarios. From testing on a single workstation to large-scale network deployments, MSP360 RMM provides flexible options tailored to your needs. This guide explains the installation and deployment methods and details scenarios where each is optimal and effective.
Getting Started Wizard
Scenario: Install on One Workstation to See How It Works
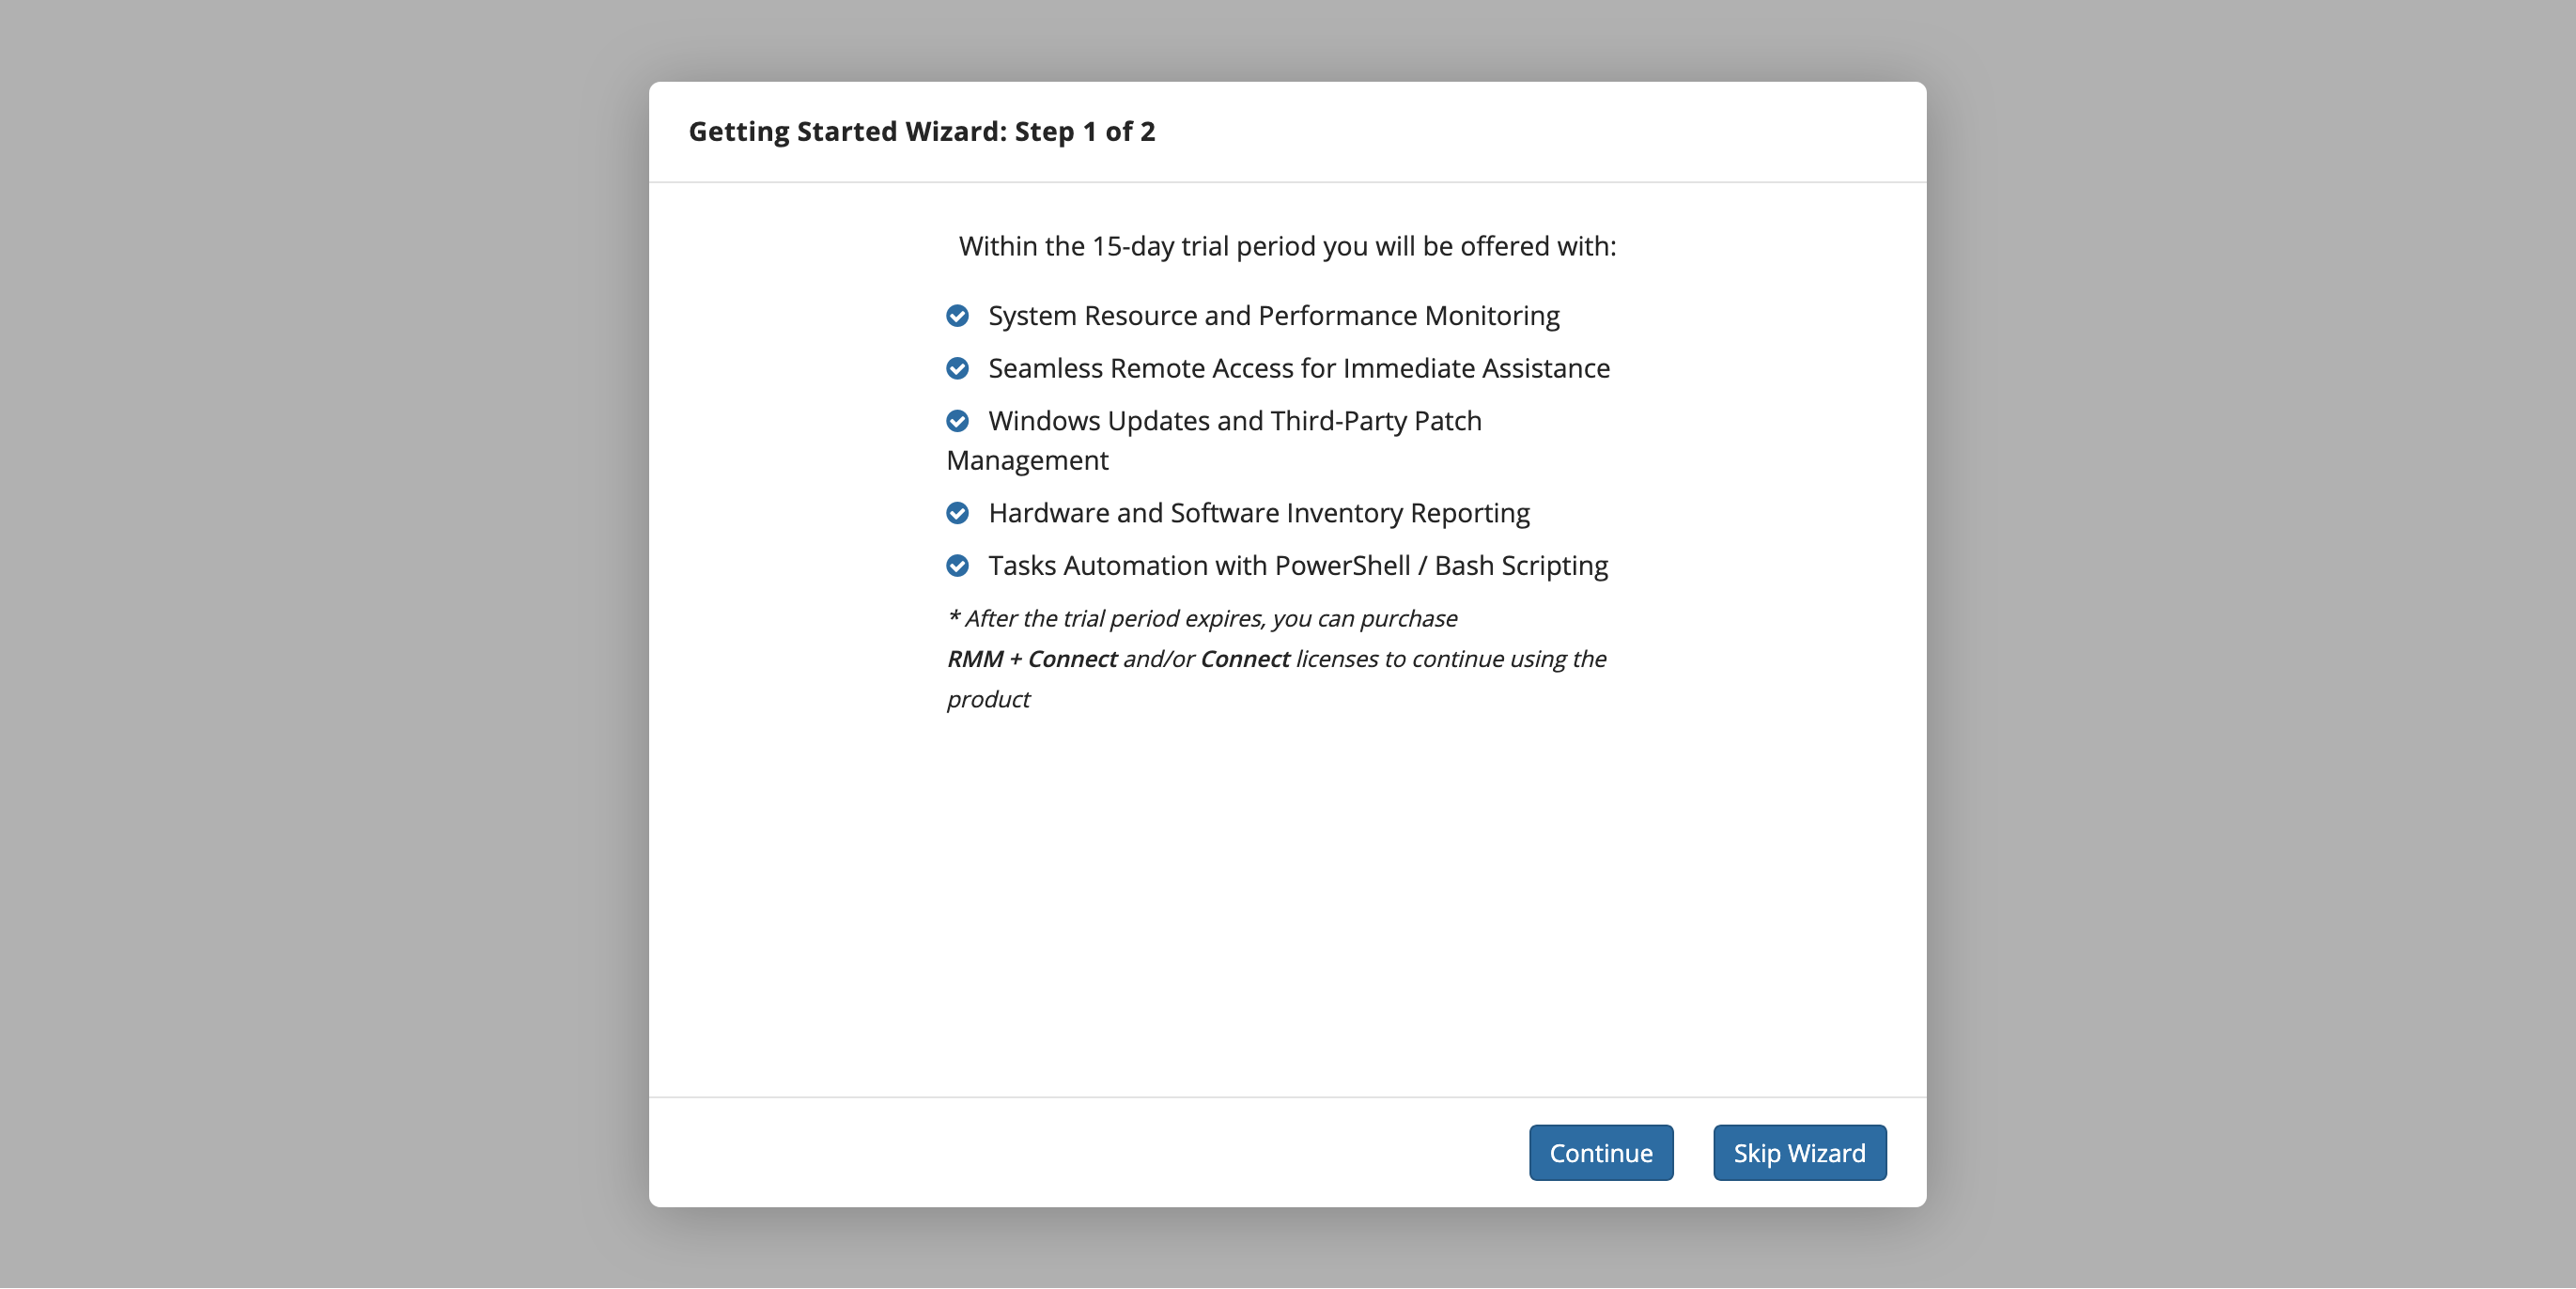
The Getting Started Wizard is perfect for new users who want to explore MSP360 RMM. This tool provides a simple and guided installation process on a single workstation, helping users familiarize themselves with the product’s interface and basic functionality.
When you first sign in to the MSP360 RMM Management Console, you’ll see the Getting Started Wizard screen:
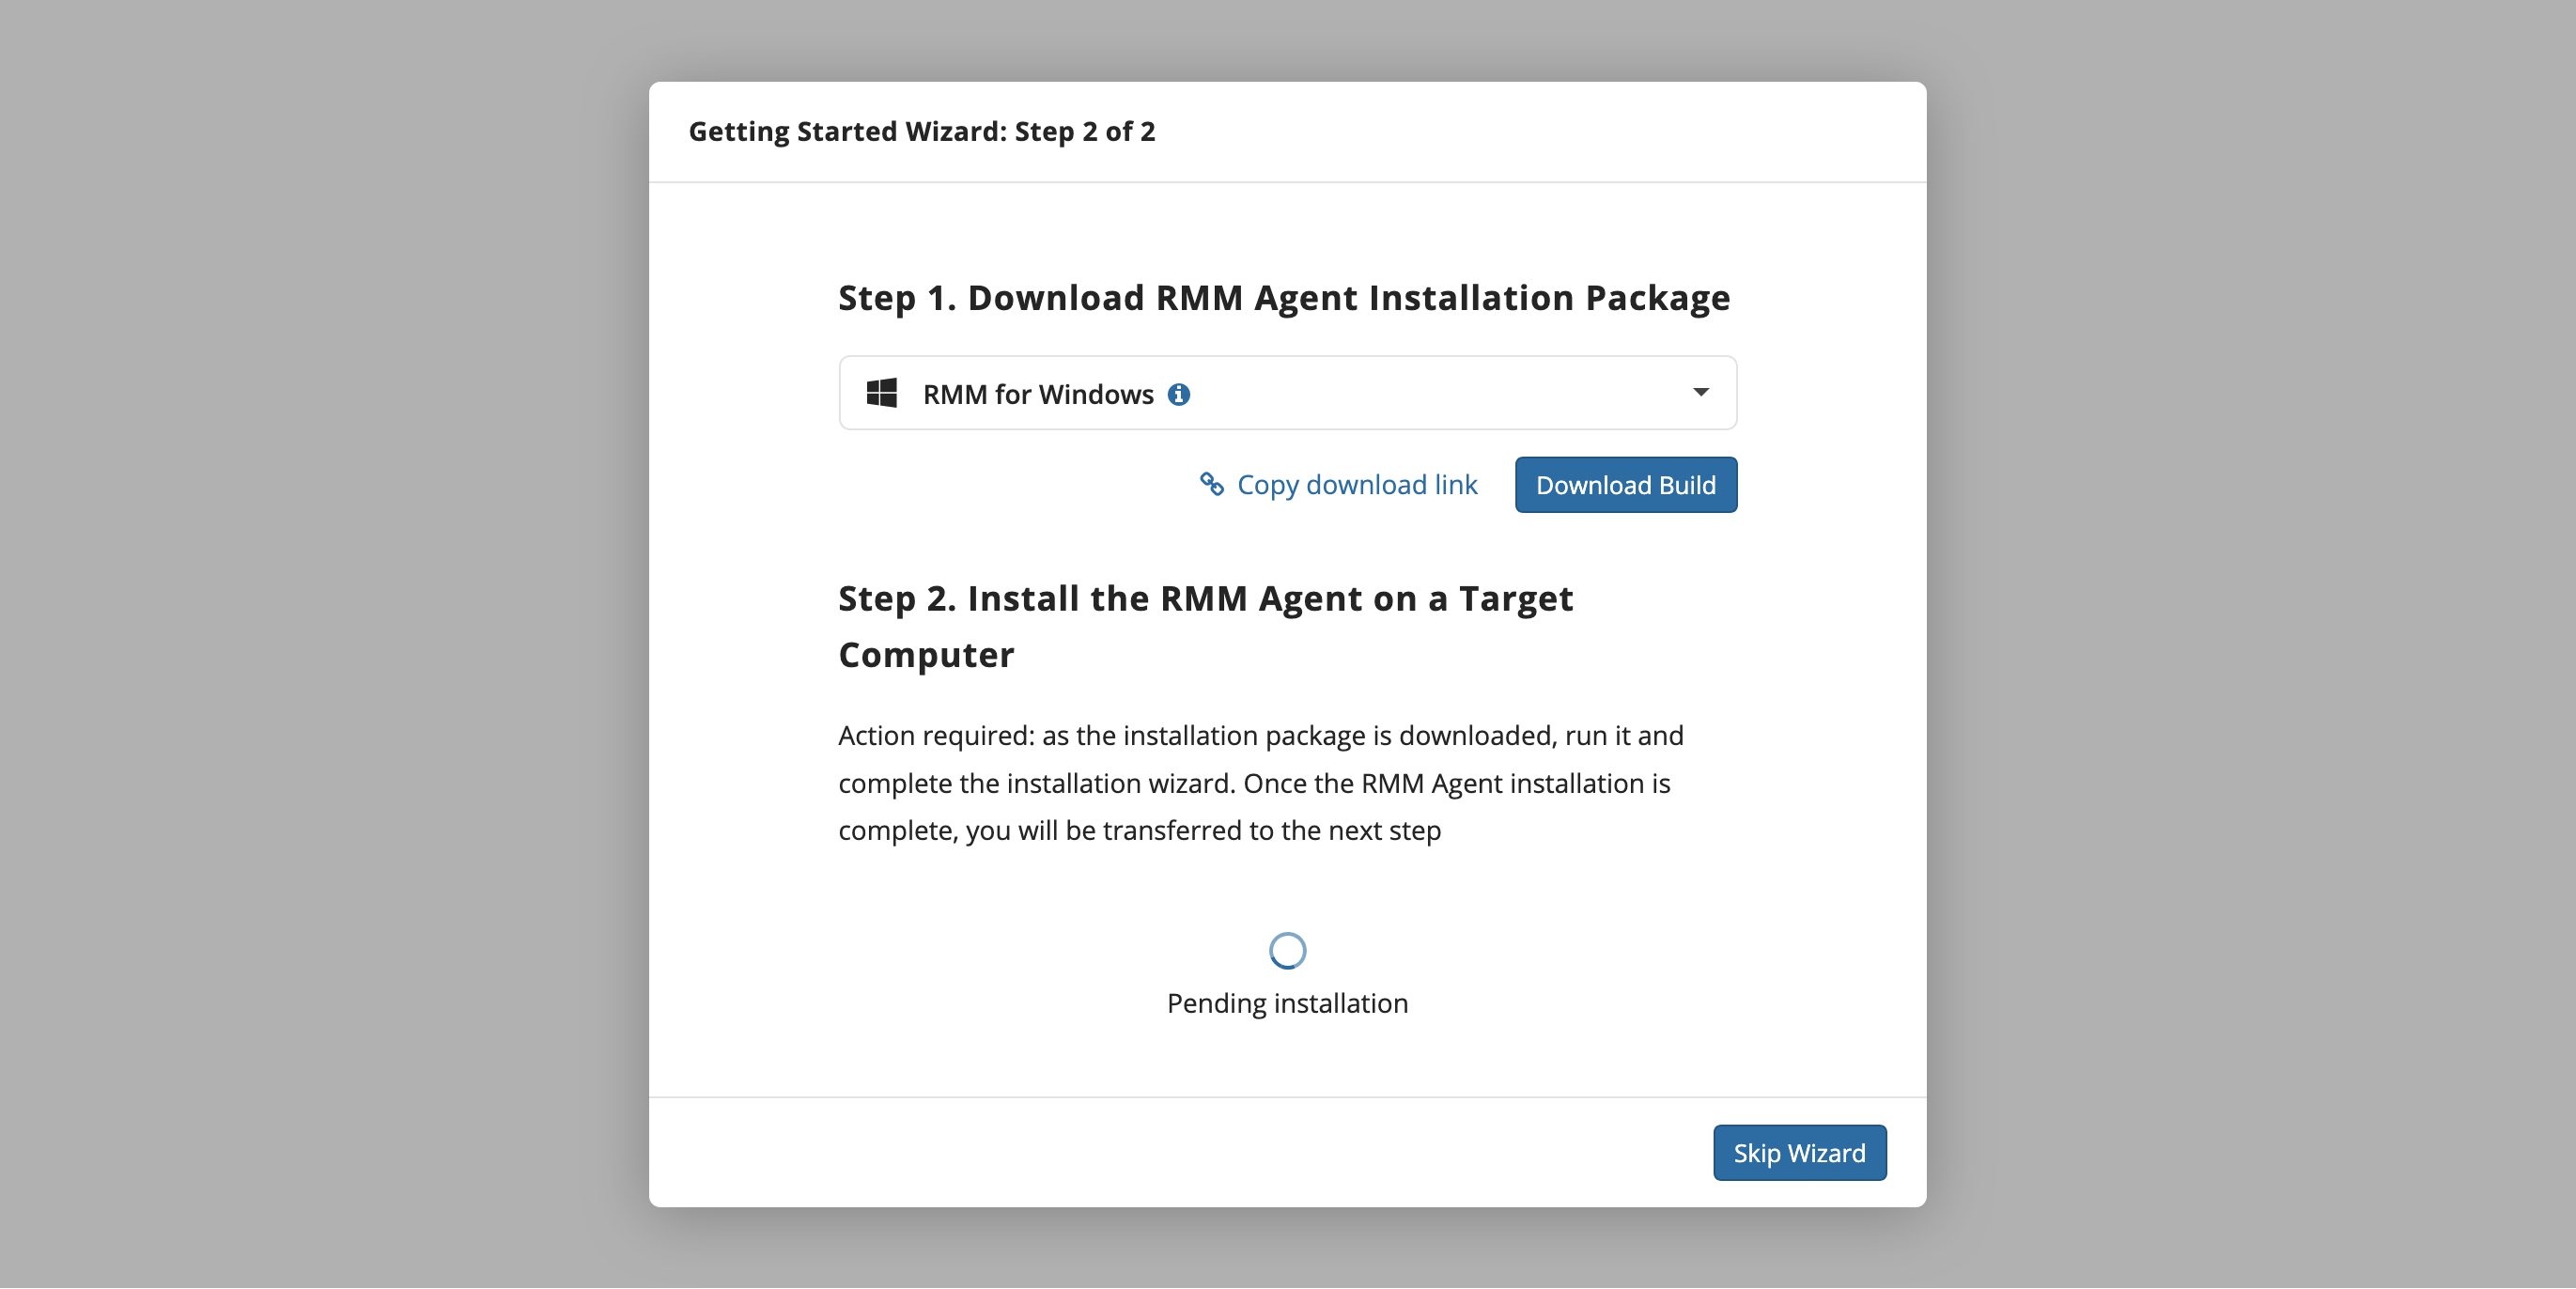
Proceed to the next step. Select the operating system of the workstation where you want to install RMM. You can either download the distributive directly, or use a download link:
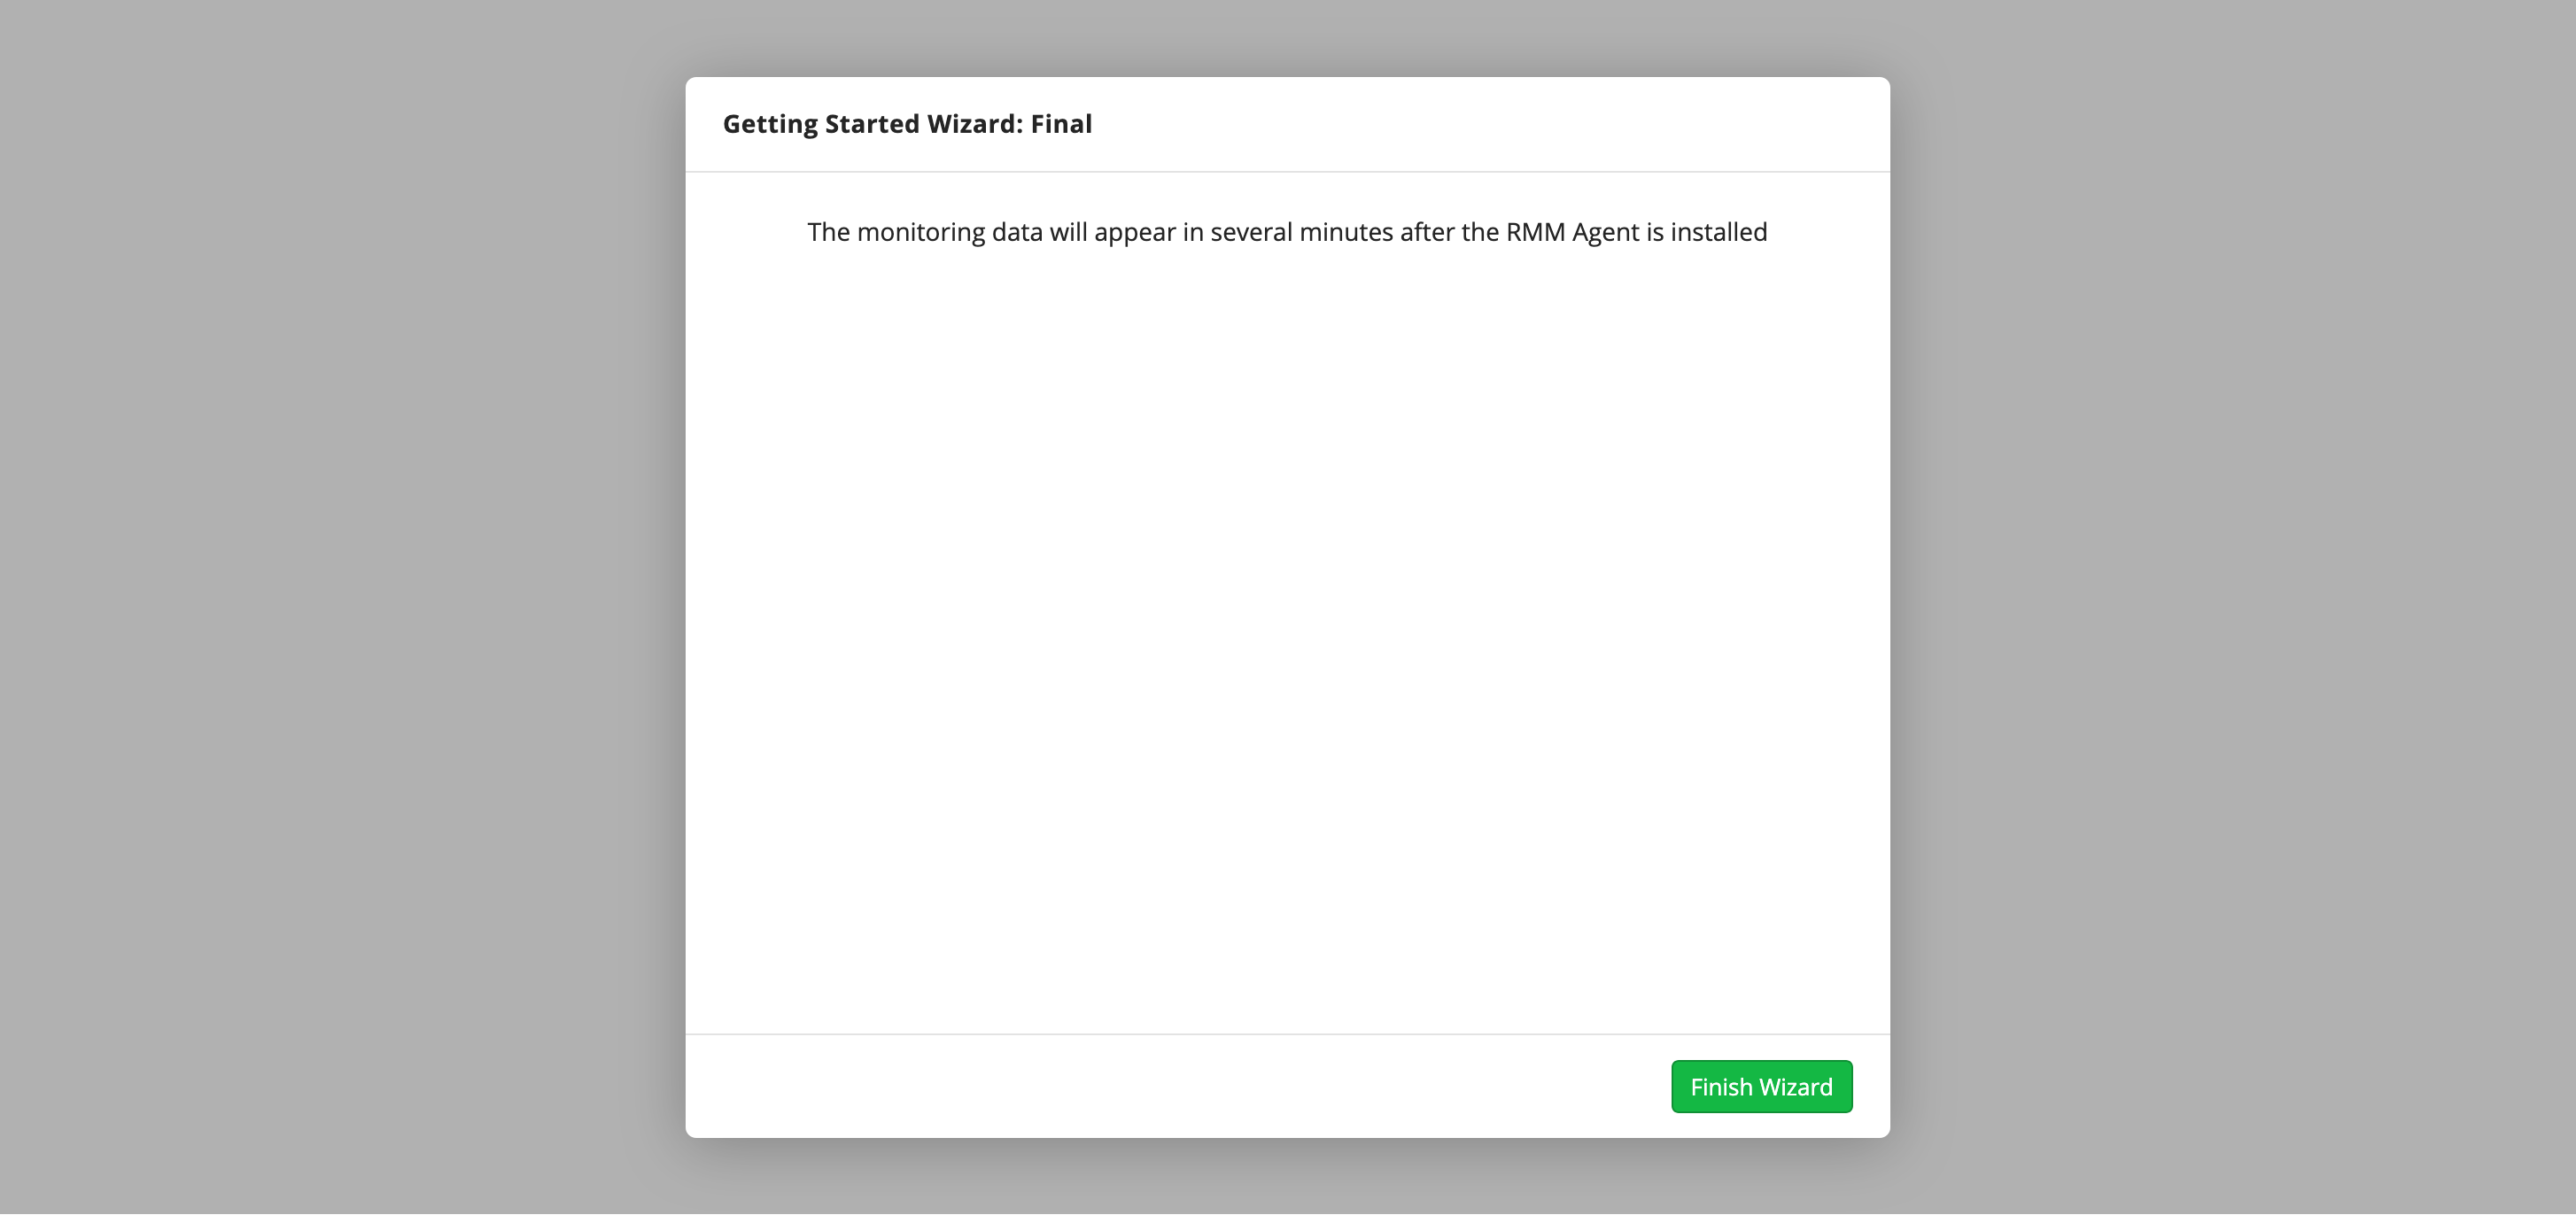
Install the RMM agent on the workstation. It will automatically connect to the Management Console. When it happens, Wizard screen will show that the setup is complete:
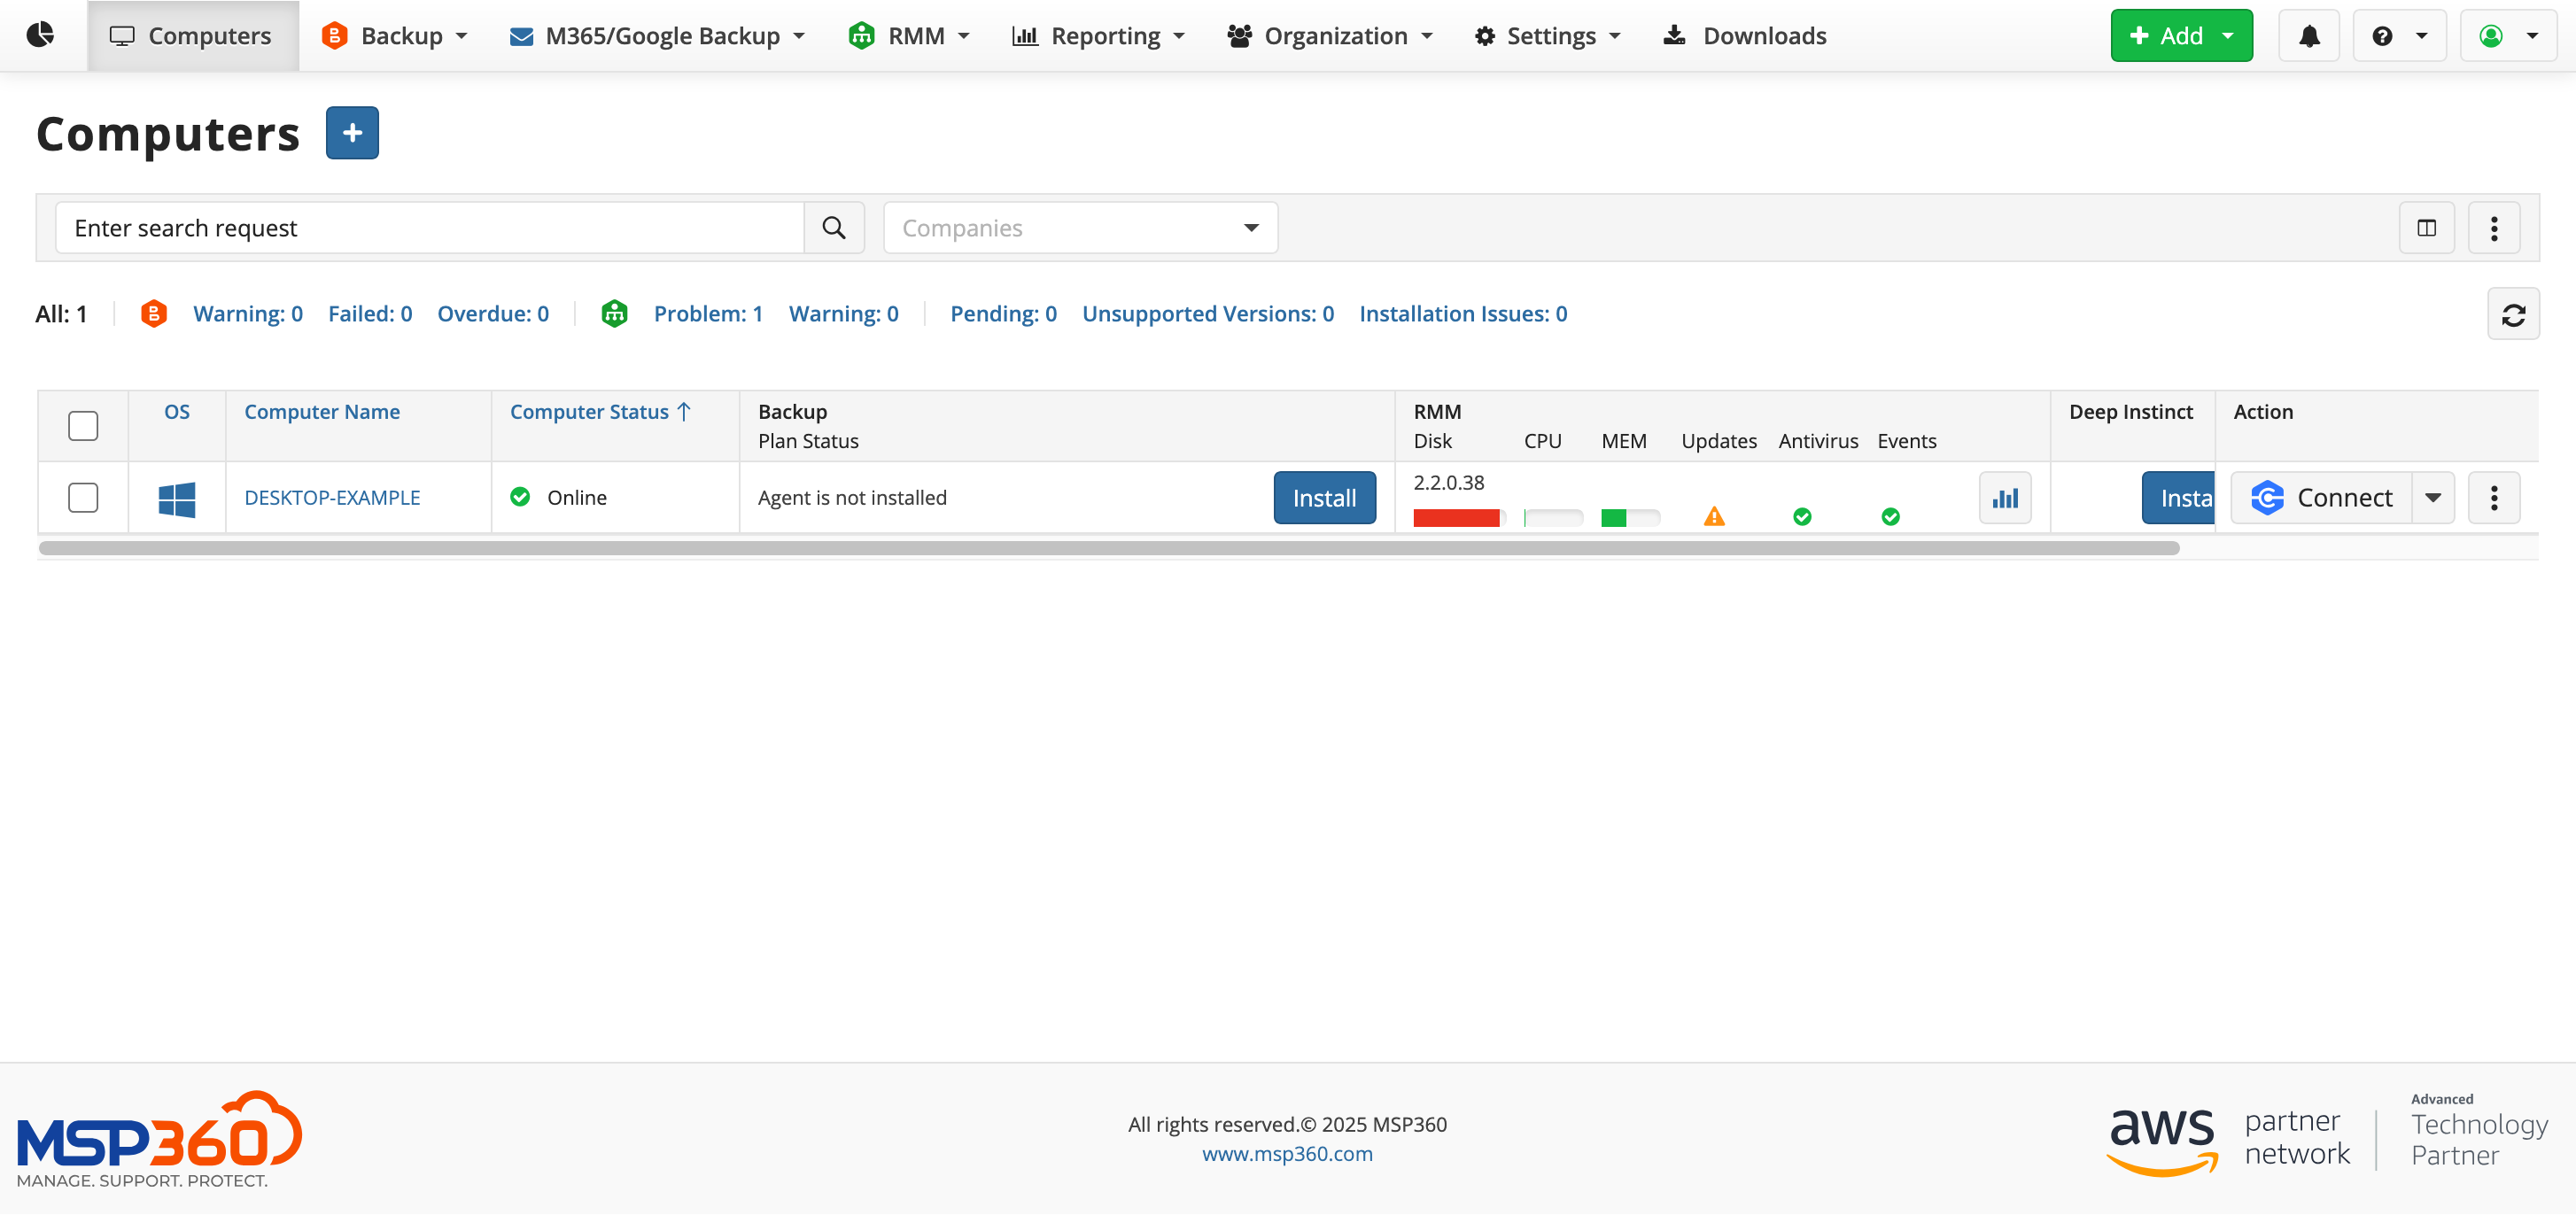
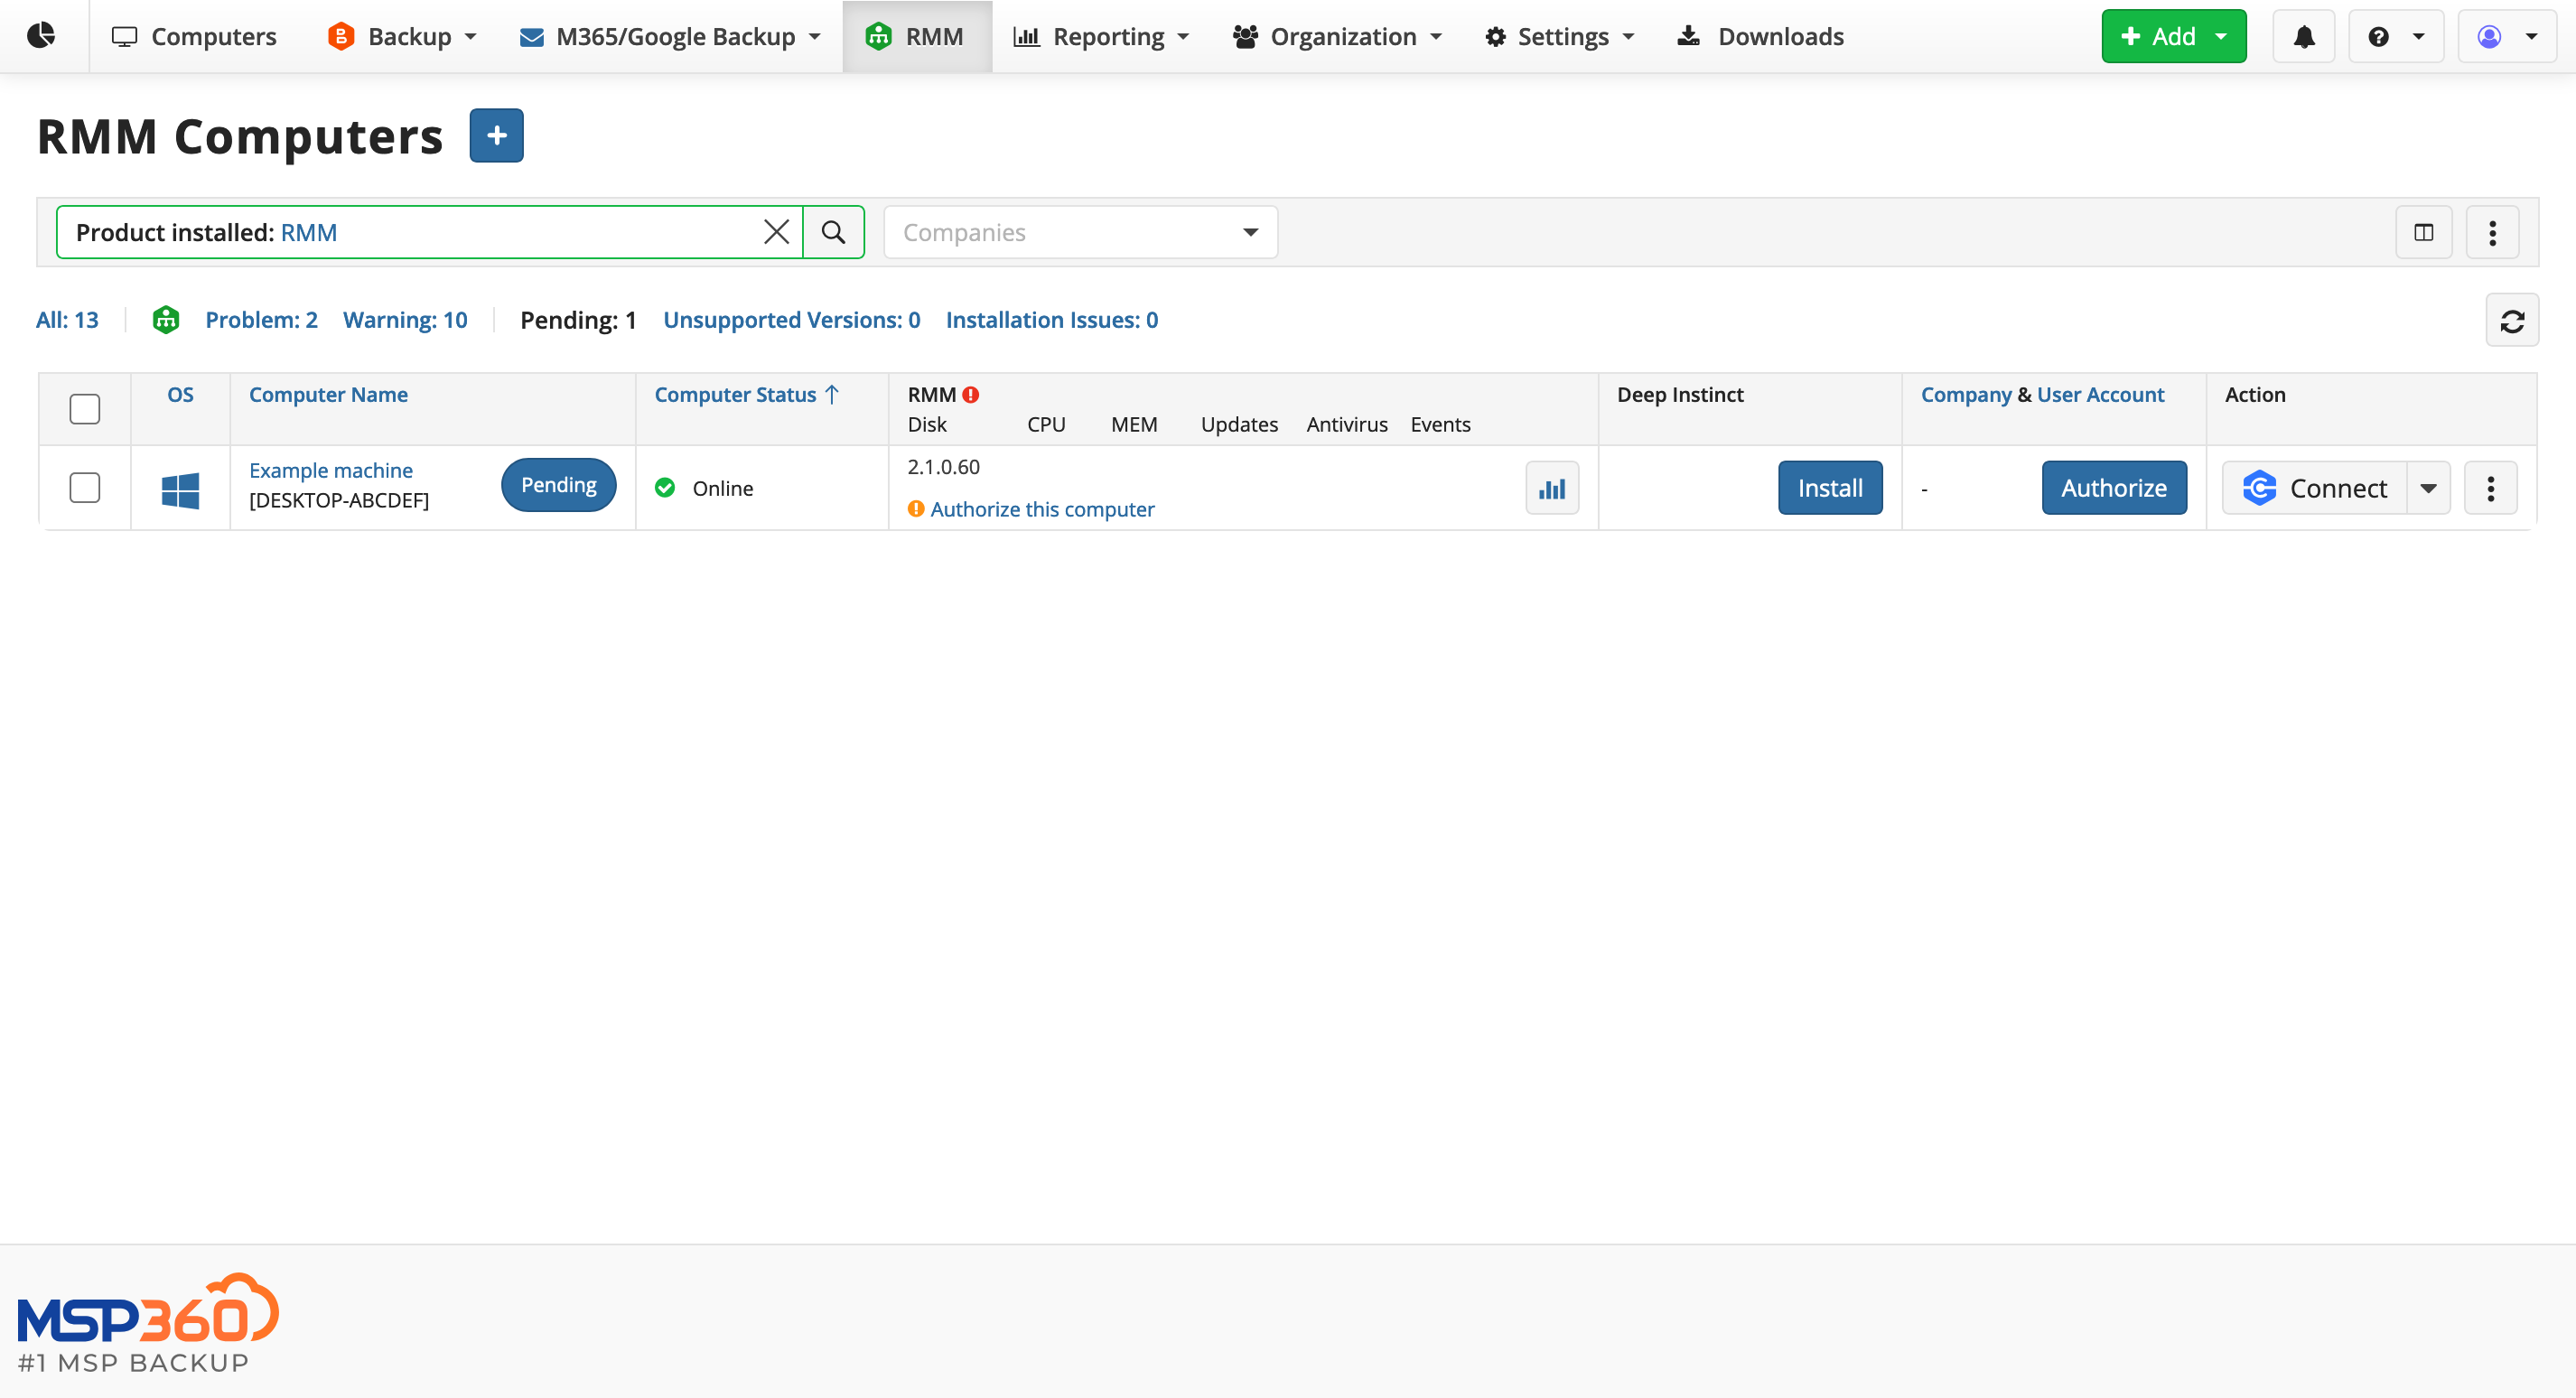
Now you can exit the Wizard and see the new machine in the list:
Download and Install Agent Manually
Scenario: Install on Several Workstations with Windows, Linux, or macOS
Consider a setup where you want to install RMM on a few workstations, probably with different operating systems. In this scenario, downloading and manually installing the RMM Agent is likely the optimal approach.
-
Open the MSP360 Management Console and navigate to the RMM > Computers page.
- If you have already installed RMM on one or more workstations, click the blue Plus button in the upper part of the screen to open the installation wizard.
- If there are no workstations with RMM in your console, you will see the starting screen. Click Add Computer to open the installation wizard.
-
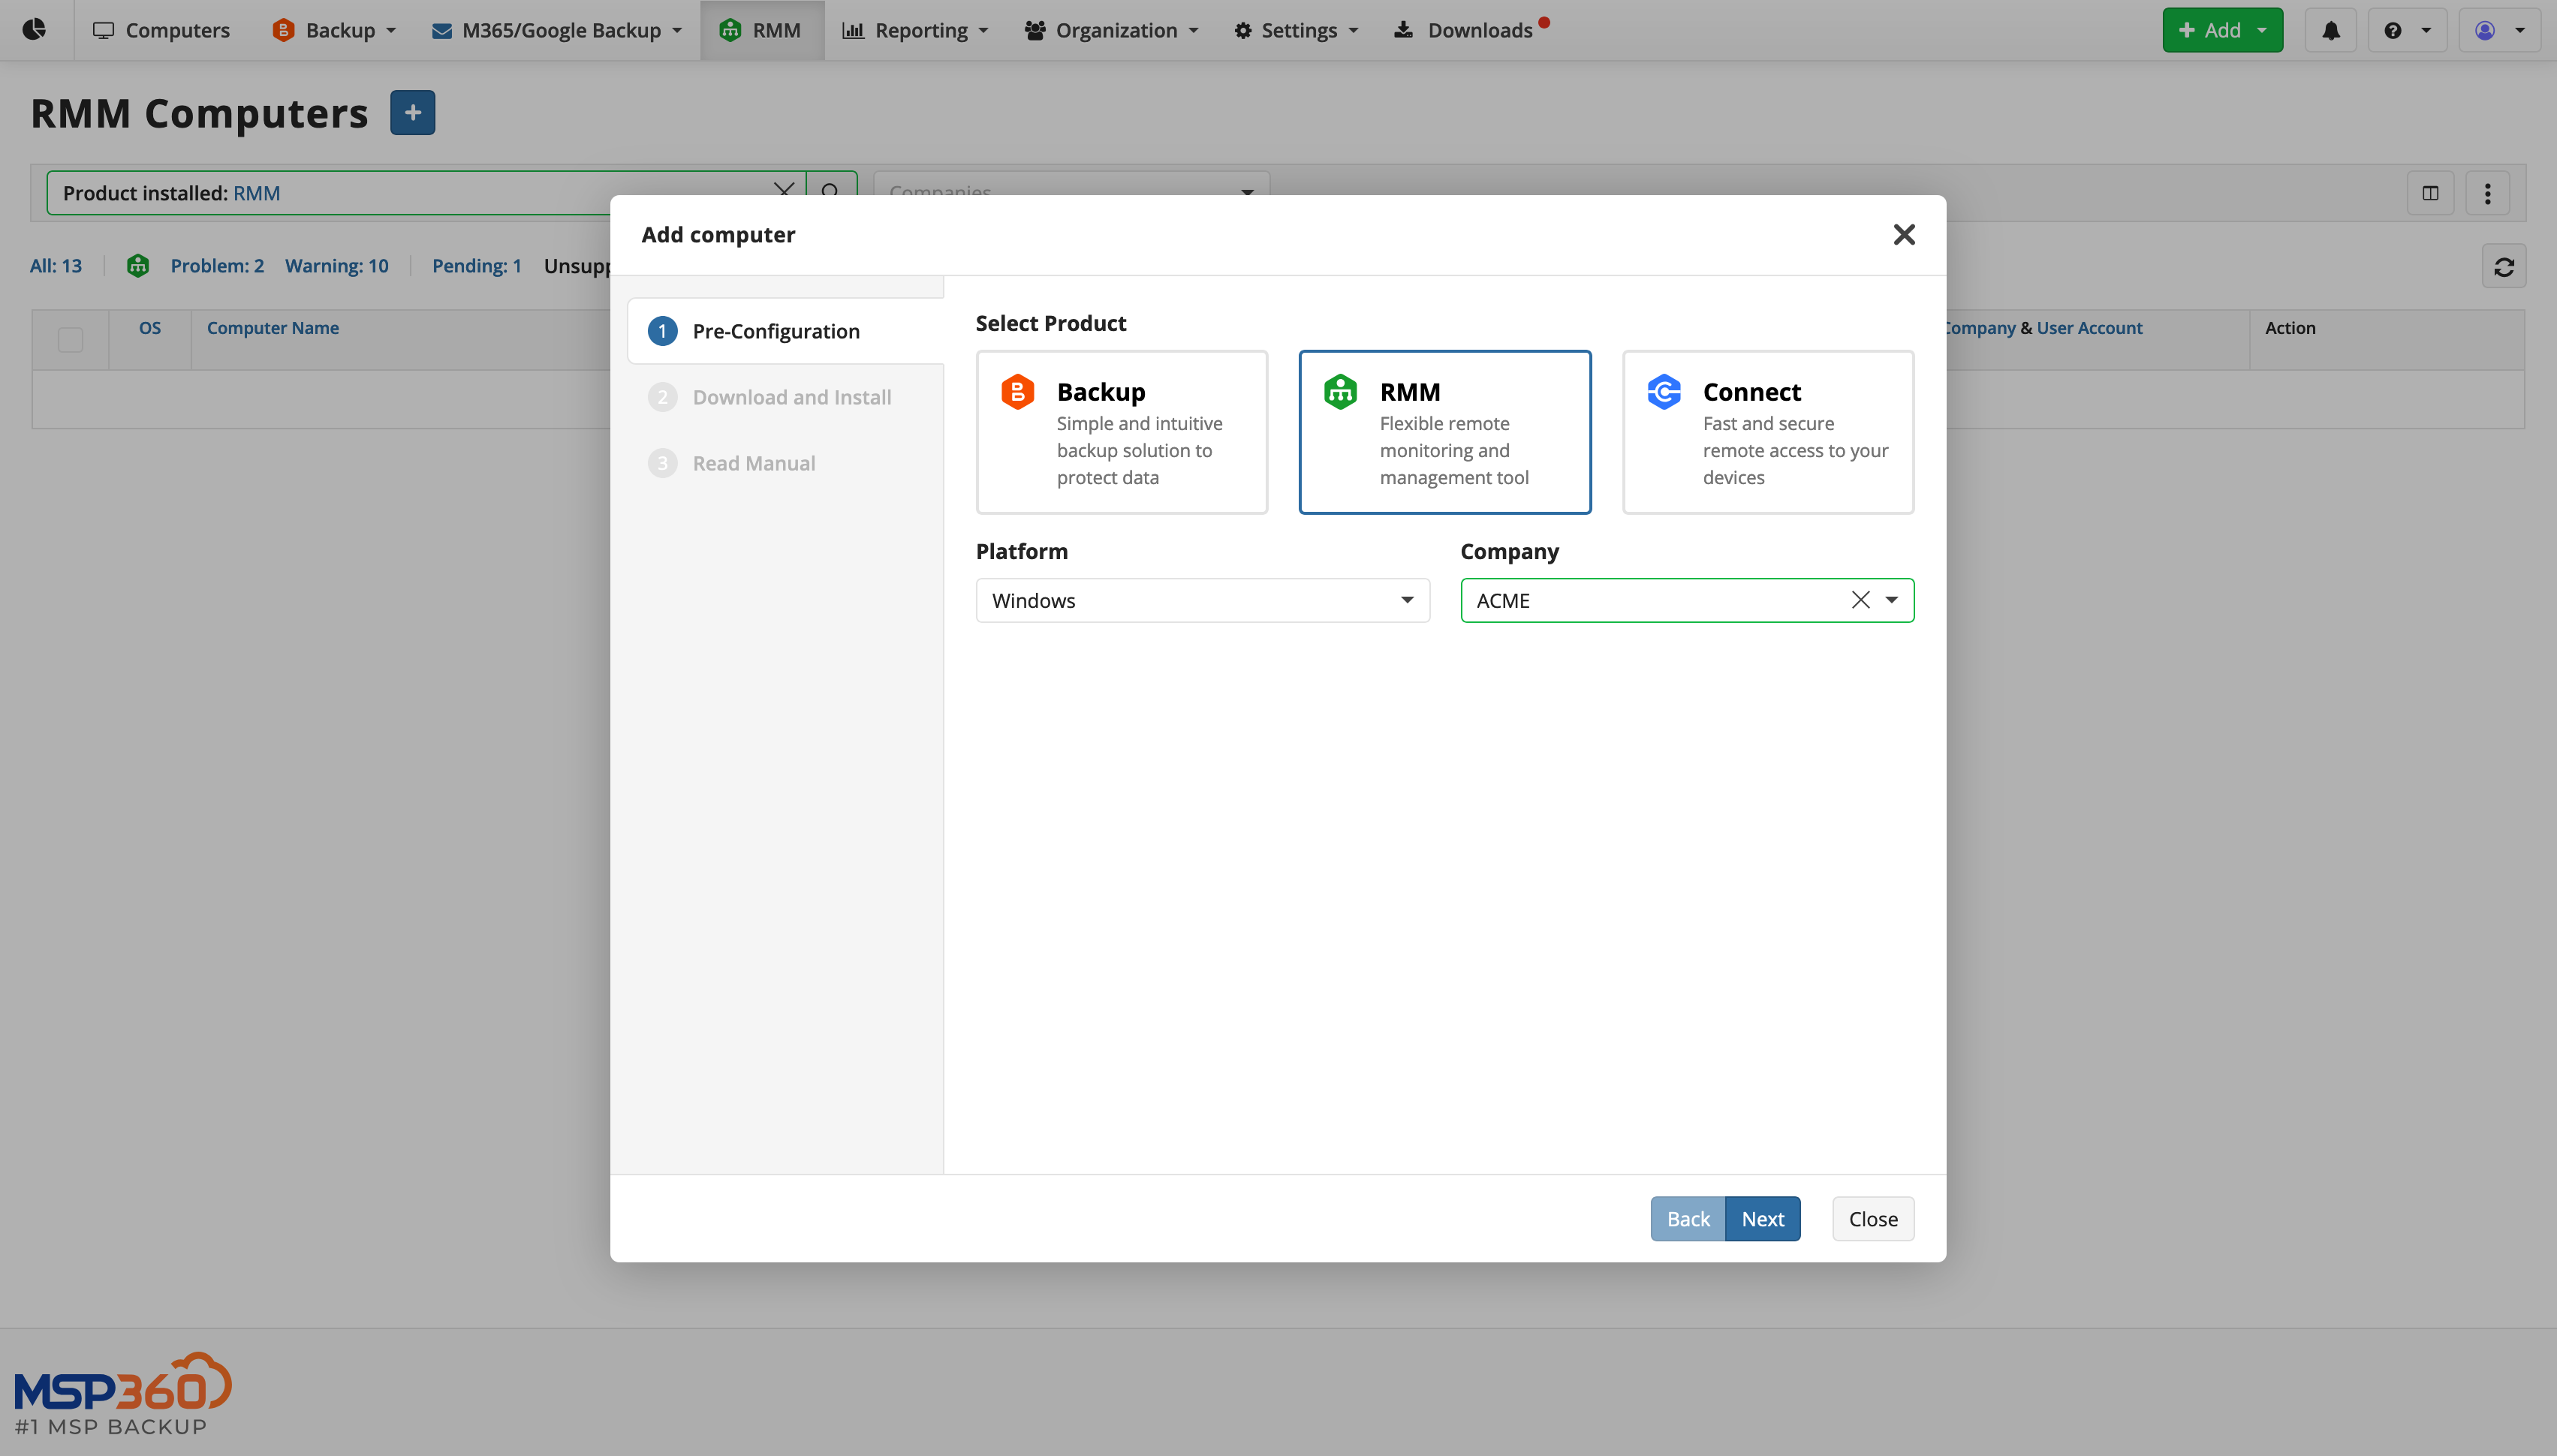
Select RMM in the product selector, the Platform (operating system) and, optionally, the Company. The Company field gives you two options:
-
Pick a company in the Company drop-down list to download an Agent that will connect the workstation to your management console and assign it to that specific company after installation. It’s useful when installing MSP360 RMM on multiple machines of a single customer.
-
Keep the Company selector empty to download an Agent that will connect the workstation to your management console and wait for your actions to assign it to a company. It’s useful when you intend to use the same distributive for multiple customers.
-
-
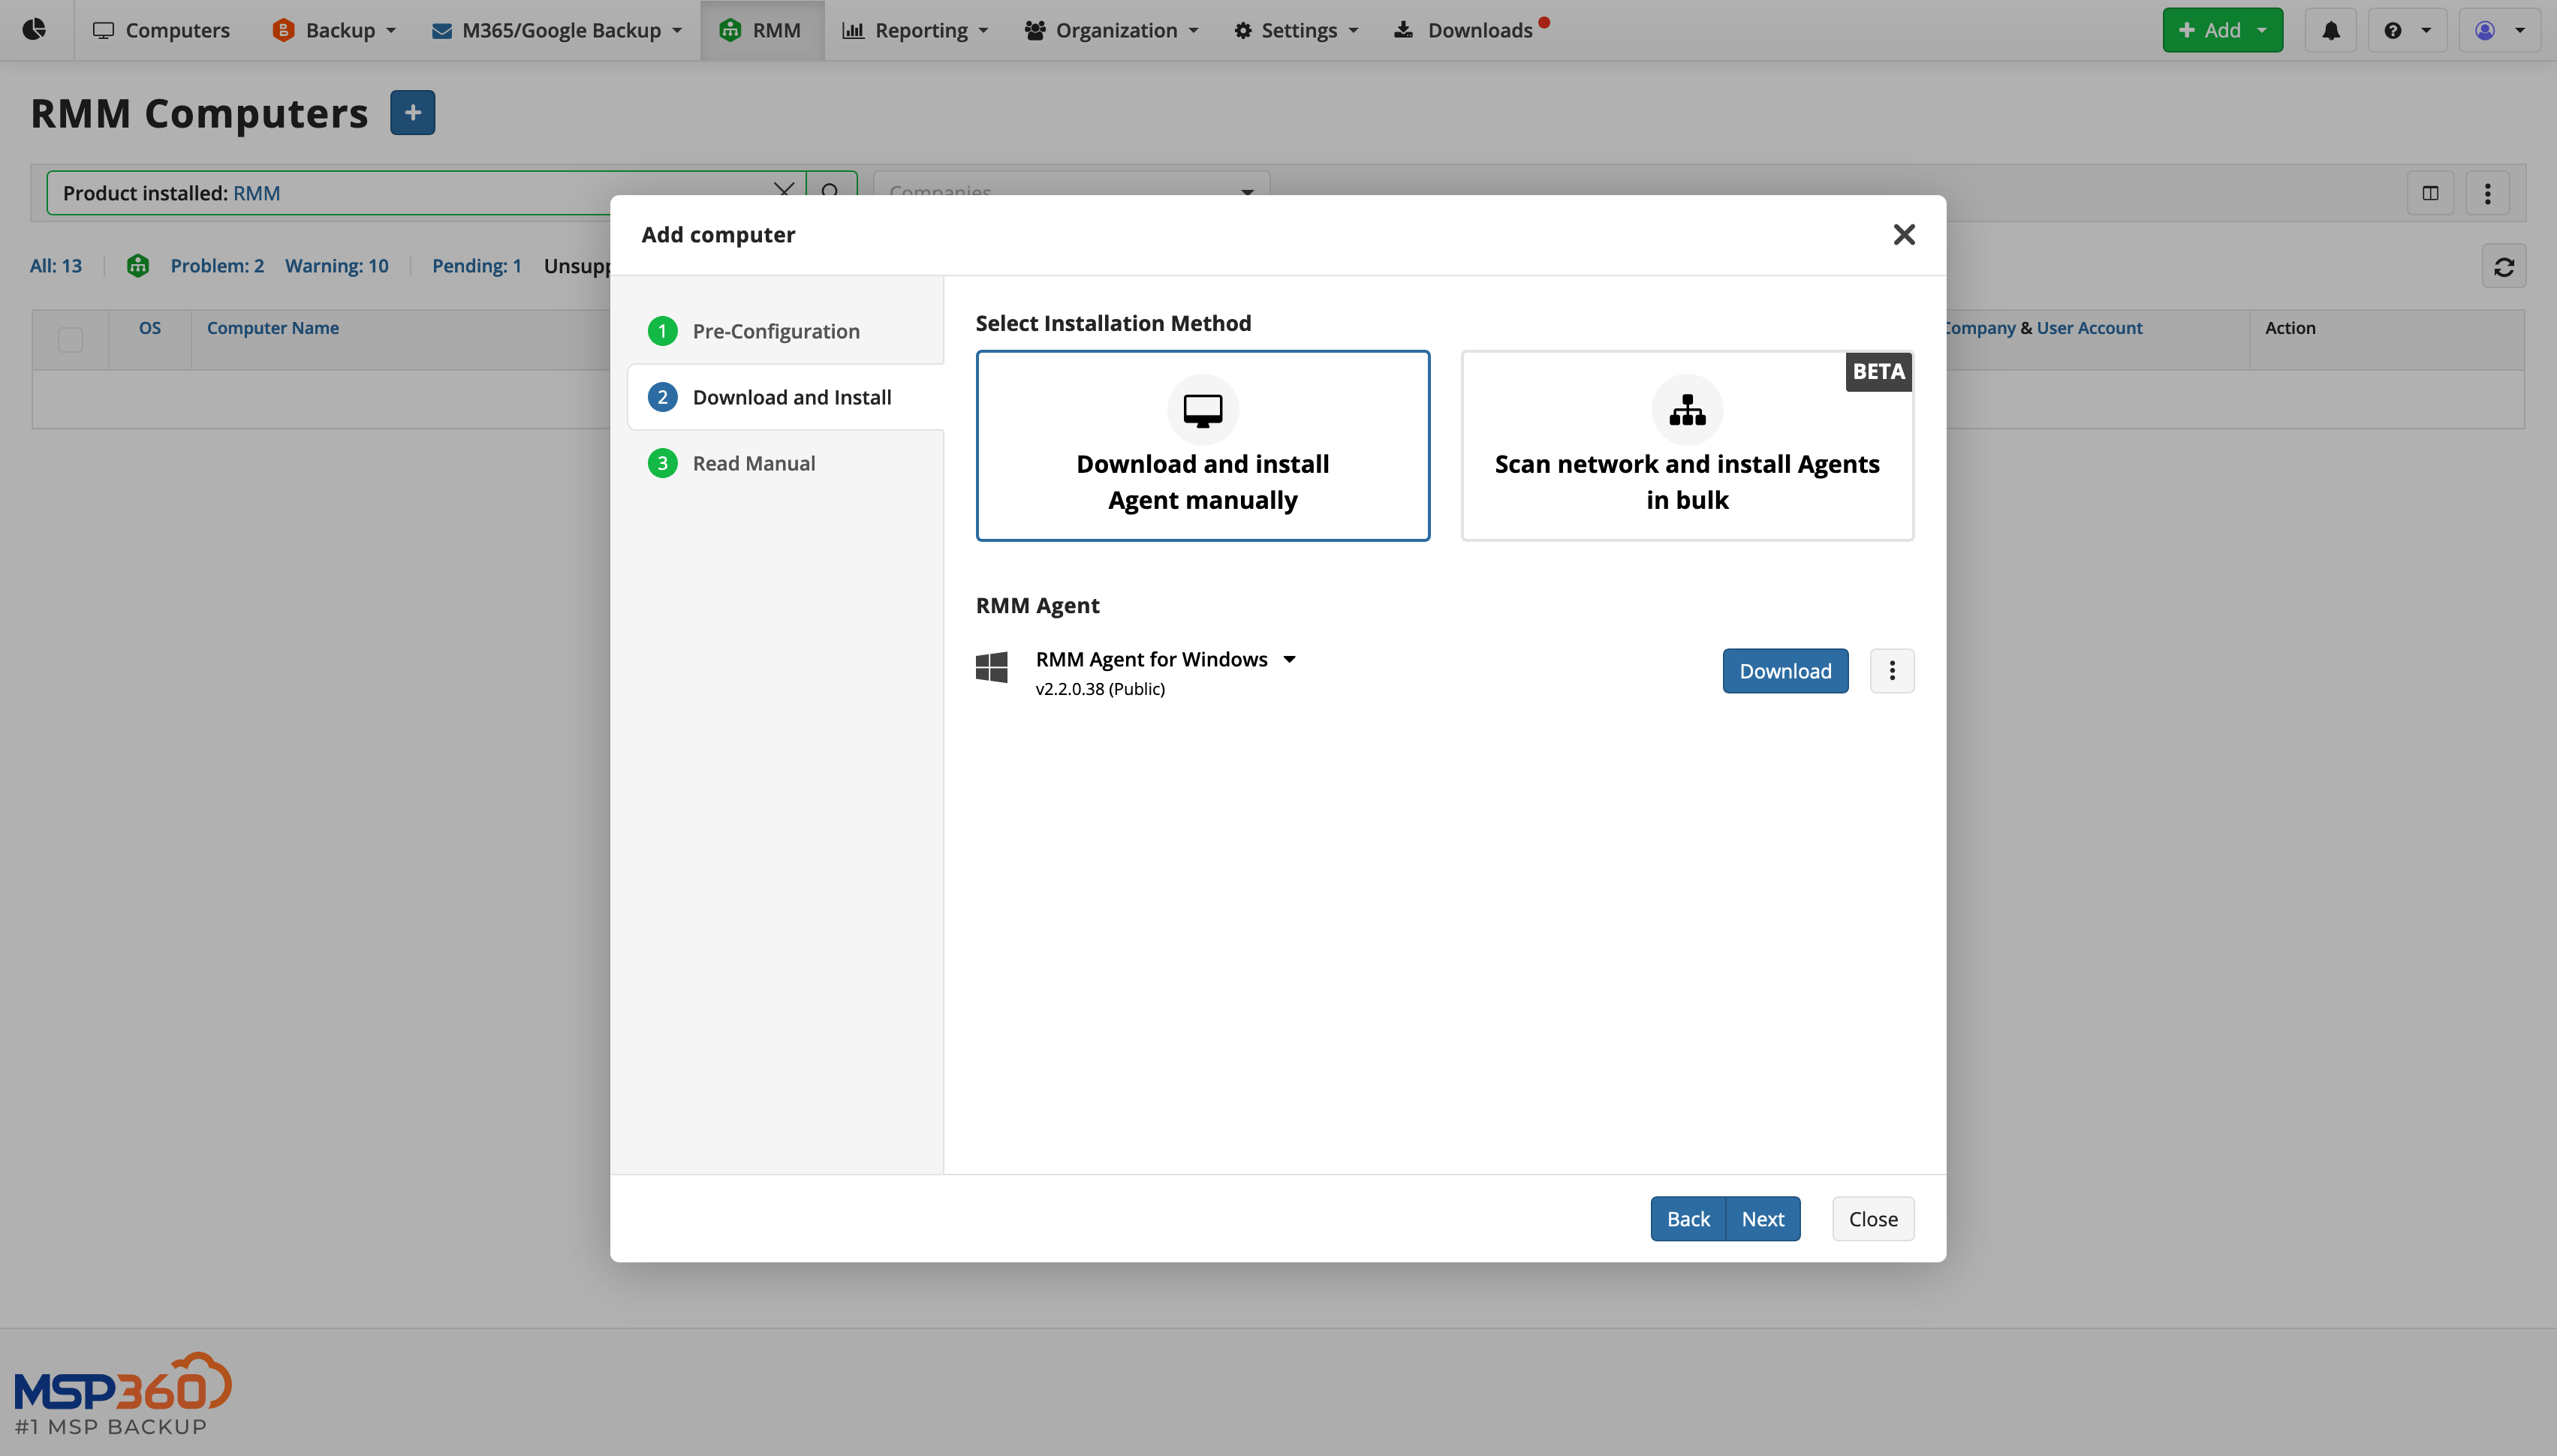
On the next page, select Download and install Agent manually. The RMM Agent is now ready to download. You can either download it directly or through a link:
-
Use Download when you want to distribute the Agent manually, such as through network share or a local disk.
-
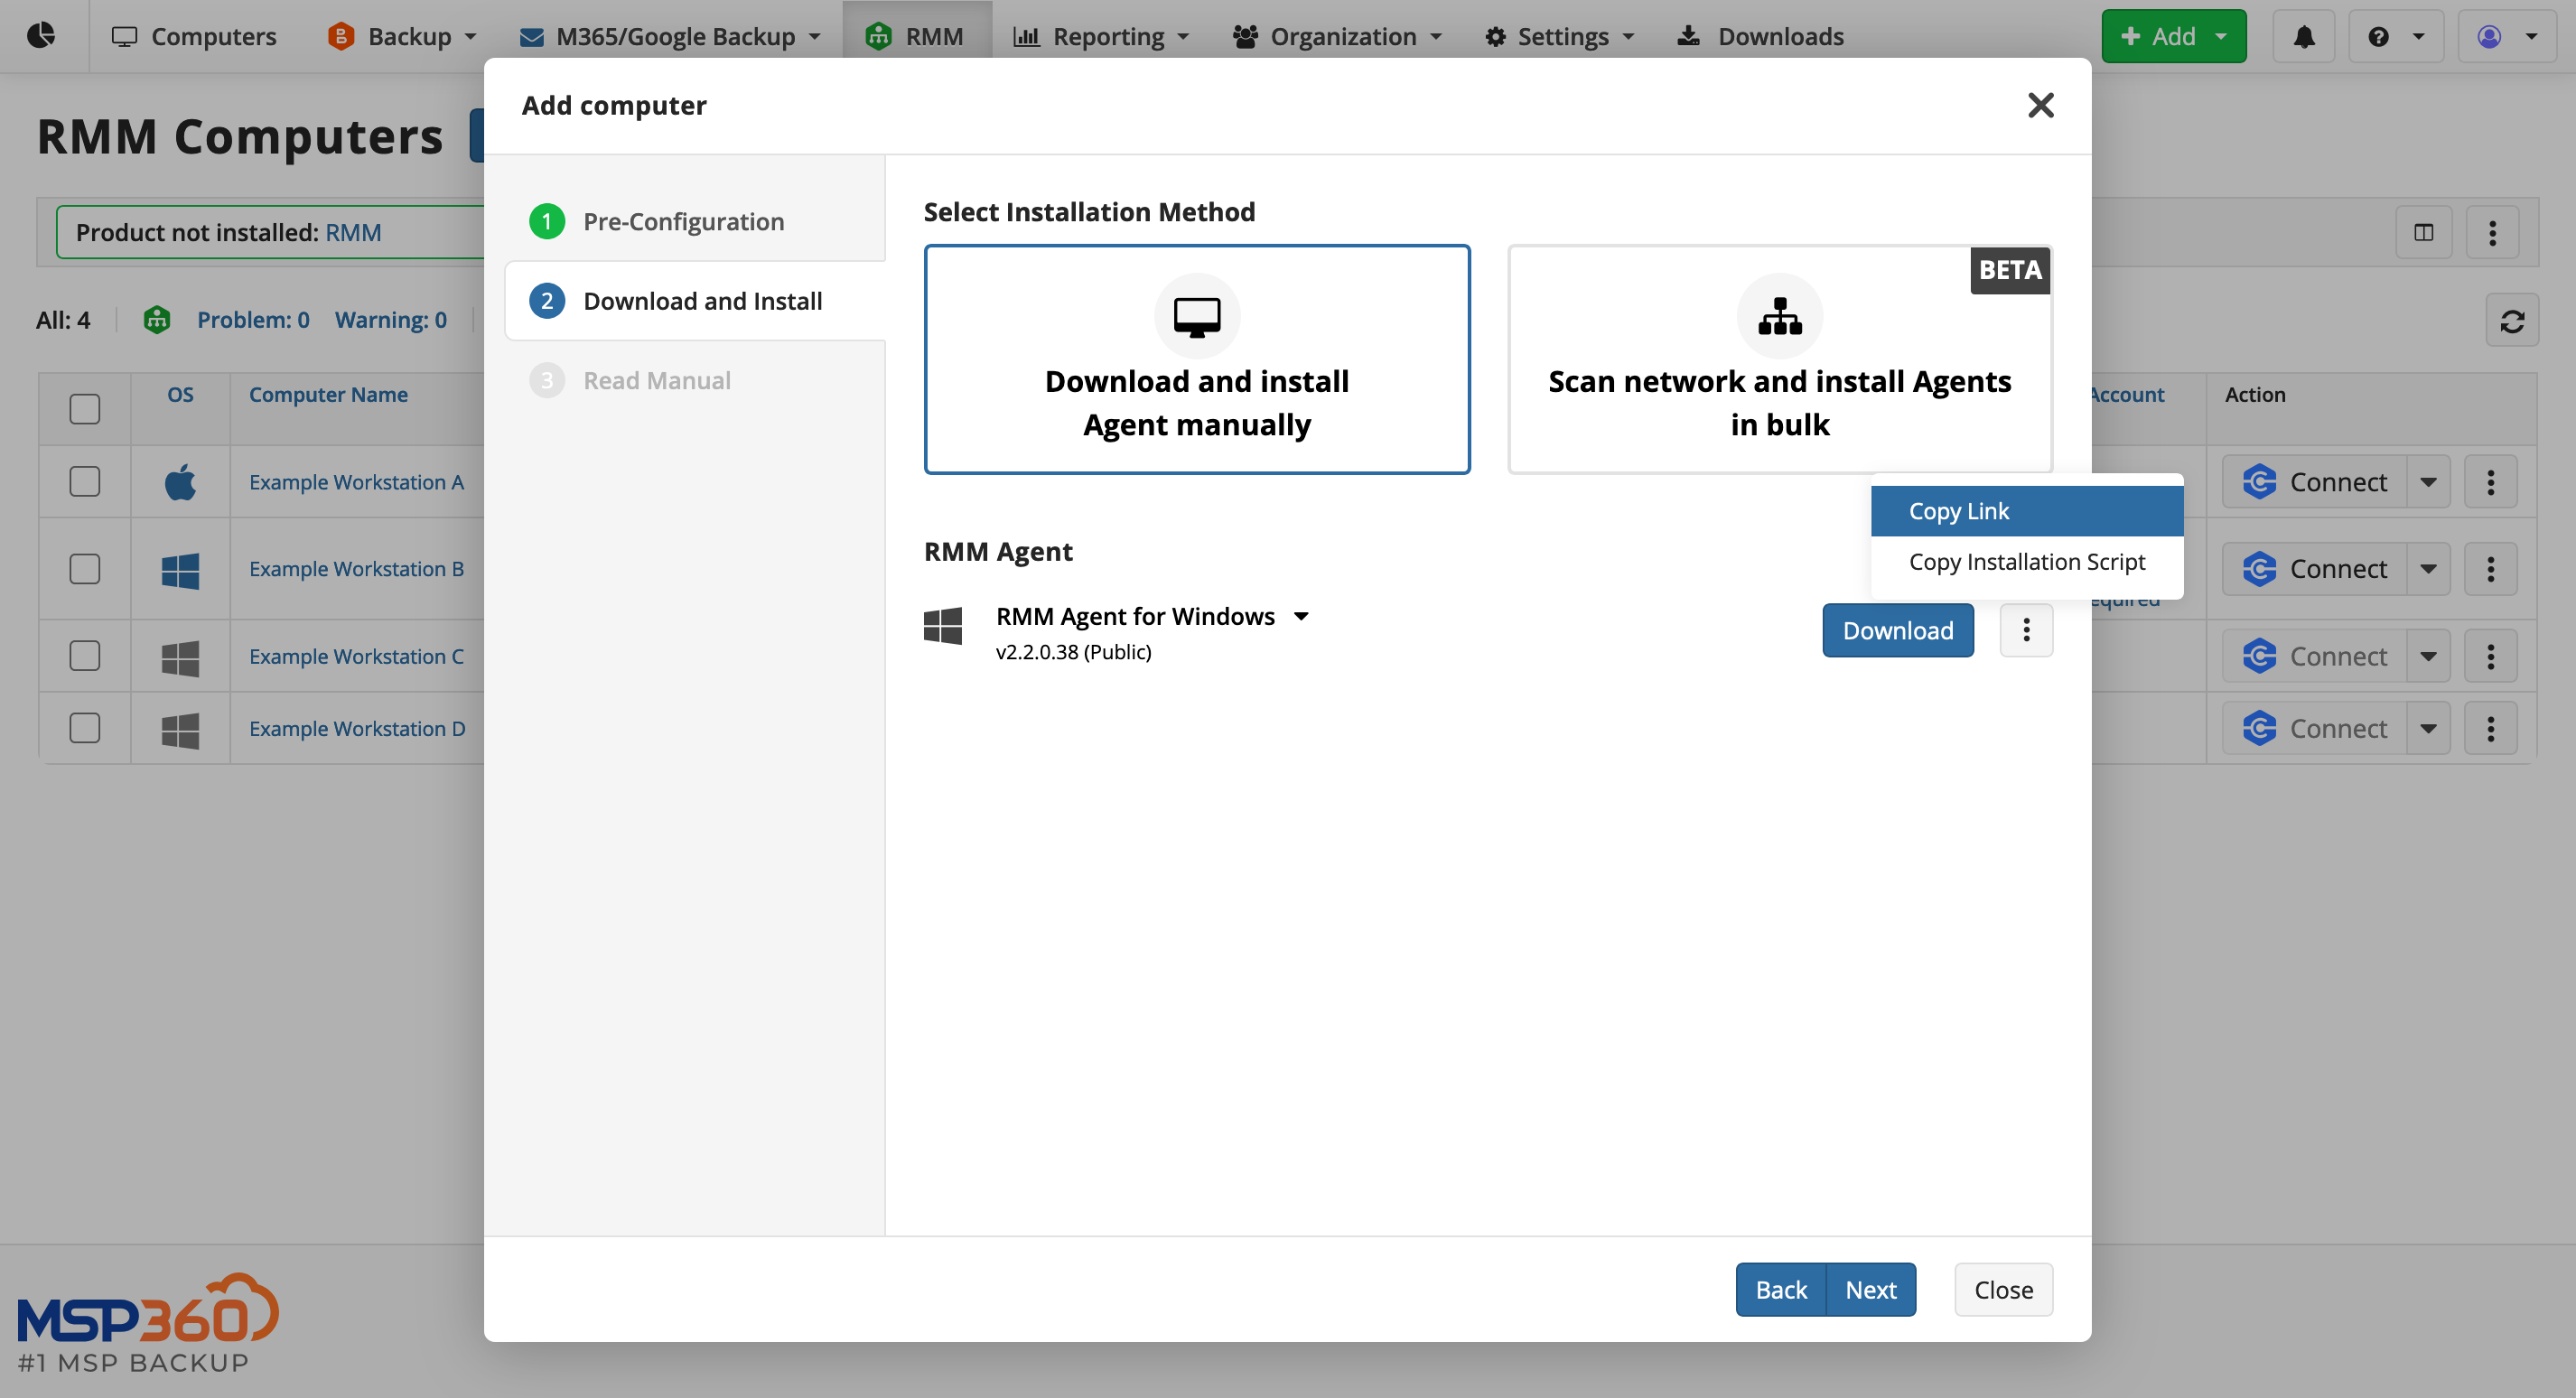
Use Copy Link when you prefer to download the Agent directly to the workstations. You can share this link with users, who can then download and install the Agent.
-
Use Copy Installation Script to get an OS-specific script that downloads and installs the Agent. You can run this script either directly or through a third-party RMM.
After downloading, install the Agent and return to the Management Console.
-
-
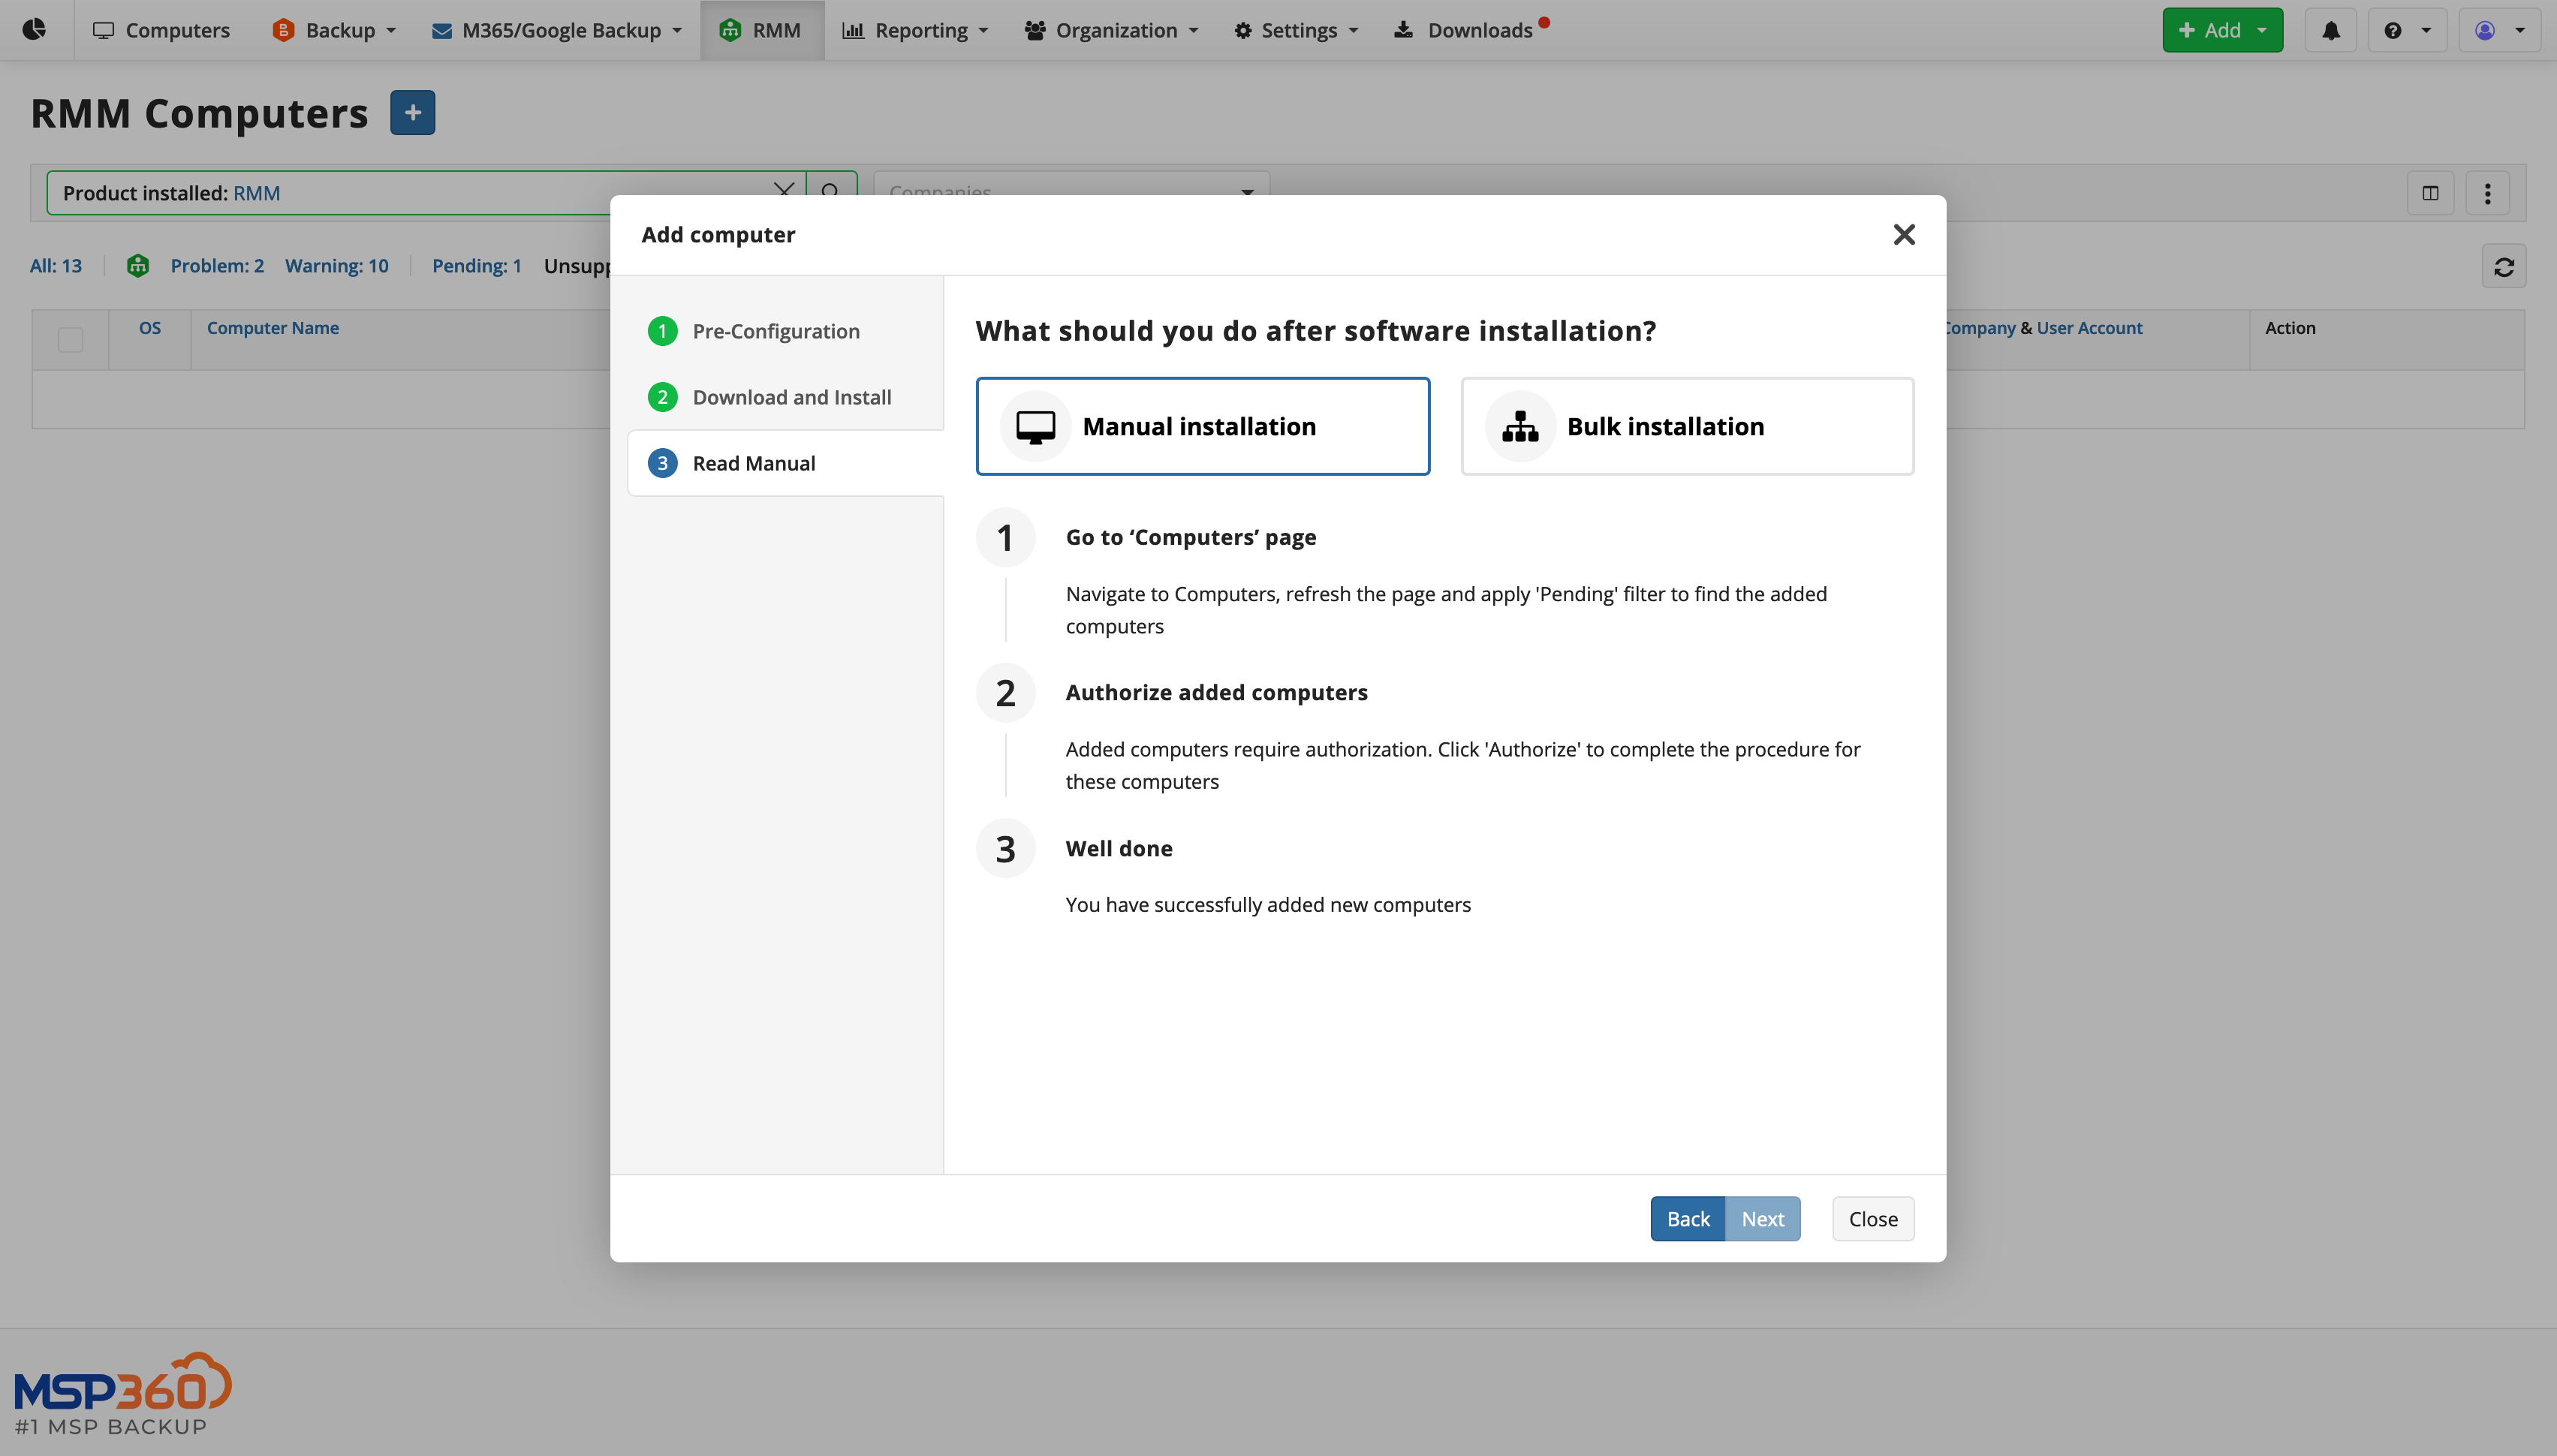
In the Management Console, open the Pending filter to find all new workstations where you have recently installed RMM Agents. Click Authorize to complete the setup for each workstation.
Discover and Deploy in Local Network
Scenario: Deploy to Multiple Windows Workstations At Once
The Discover and Deploy feature streamlines RMM Agent installation for multiple workstations within the same Windows network. You will need to have access to a single workstation in the network, where you install the Discover and Deploy Agent.
To use the Discover and Deploy Agent, start as with regular installation:
-
Open the MSP360 Management Console and navigate to the RMM > Computers page. Click Add Computer or blue Plus button in the upper part of the screen. An installation wizard will open.
-
Select RMM in the product selector, the Platform (operating system) and, optionally, the Company.
-
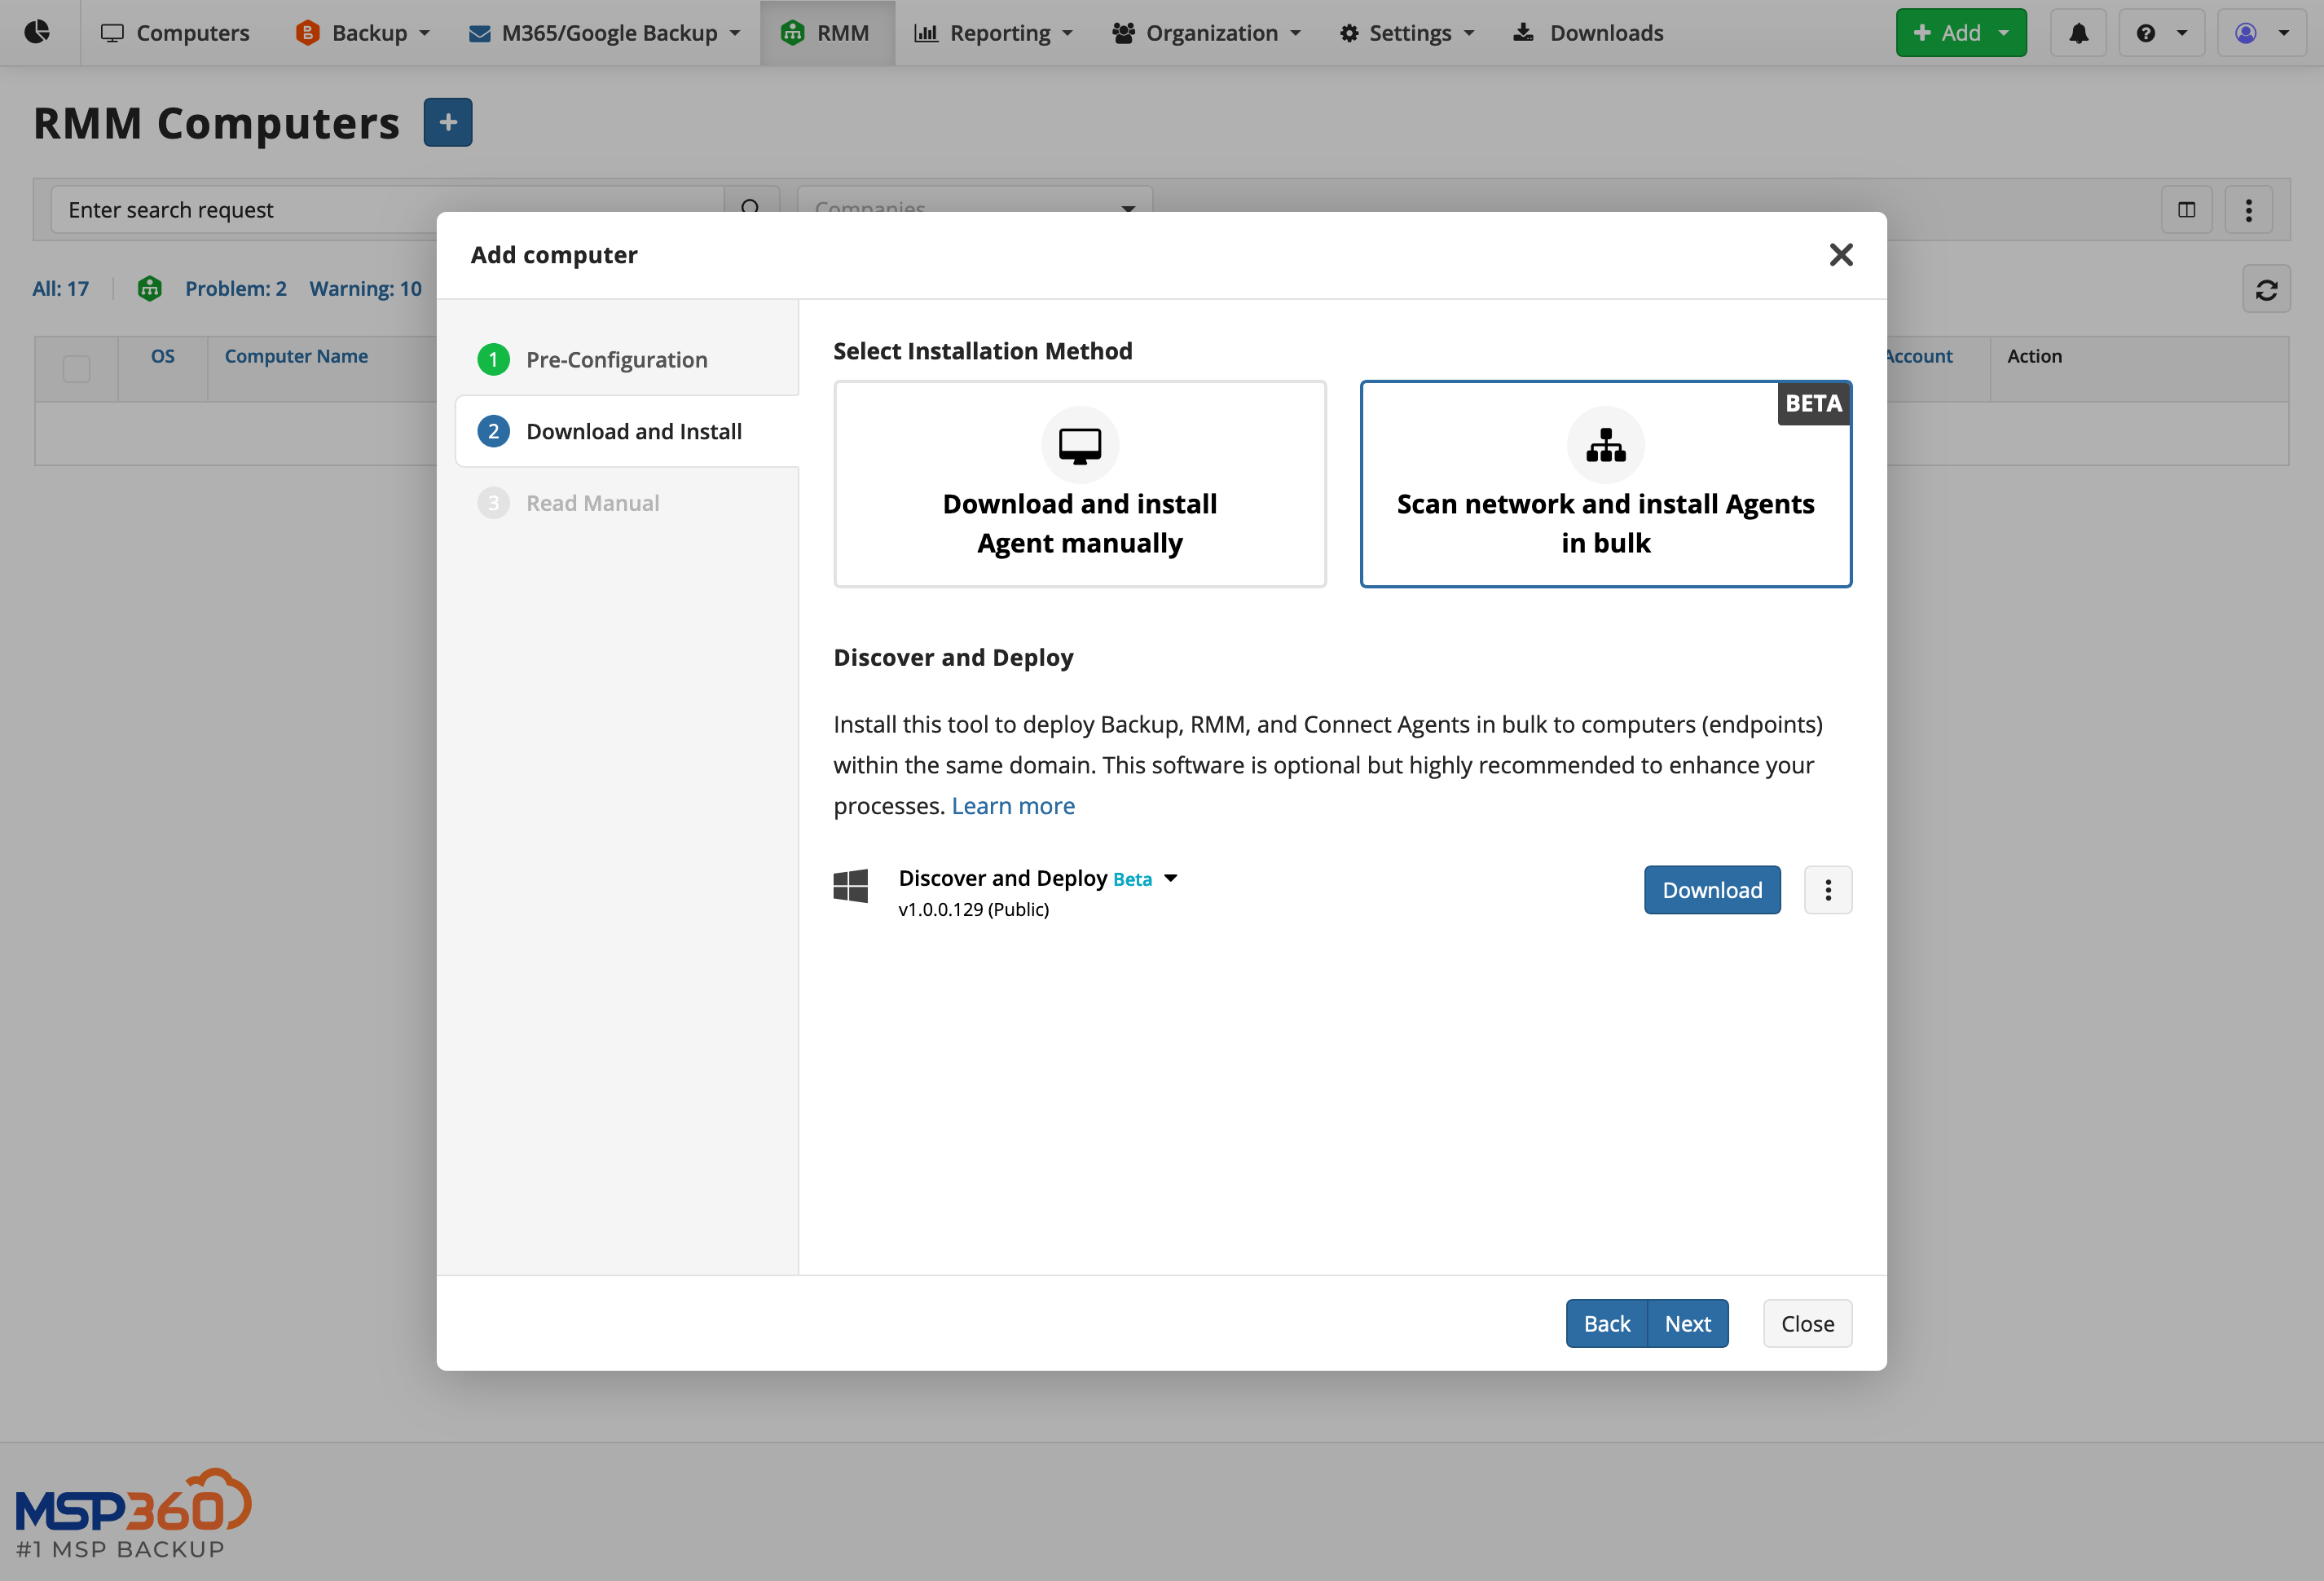
On the next screen, select Scan network and install Agents in bulk. You will have two options:
- Use Download to download the distributive directly and deliver it to the primary workstation on your own.
- Use Copy Link to download the Agent directly to the primary workstation without logging in to the Management Console.
-
Run the installation wizard on the workstation and follow the instructions.
Deploy via MSP360 Managed Backup Agents
Scenario: Deploy to Multiple Workstations Protected by MSP360 Managed Backup
If your environment already uses MSP360 Managed Backup, you can leverage the already installed Backup Agents to deploy RMM Agents (and vice versa). This cross-product integration allows for seamless deployment without requiring separate installations.
-
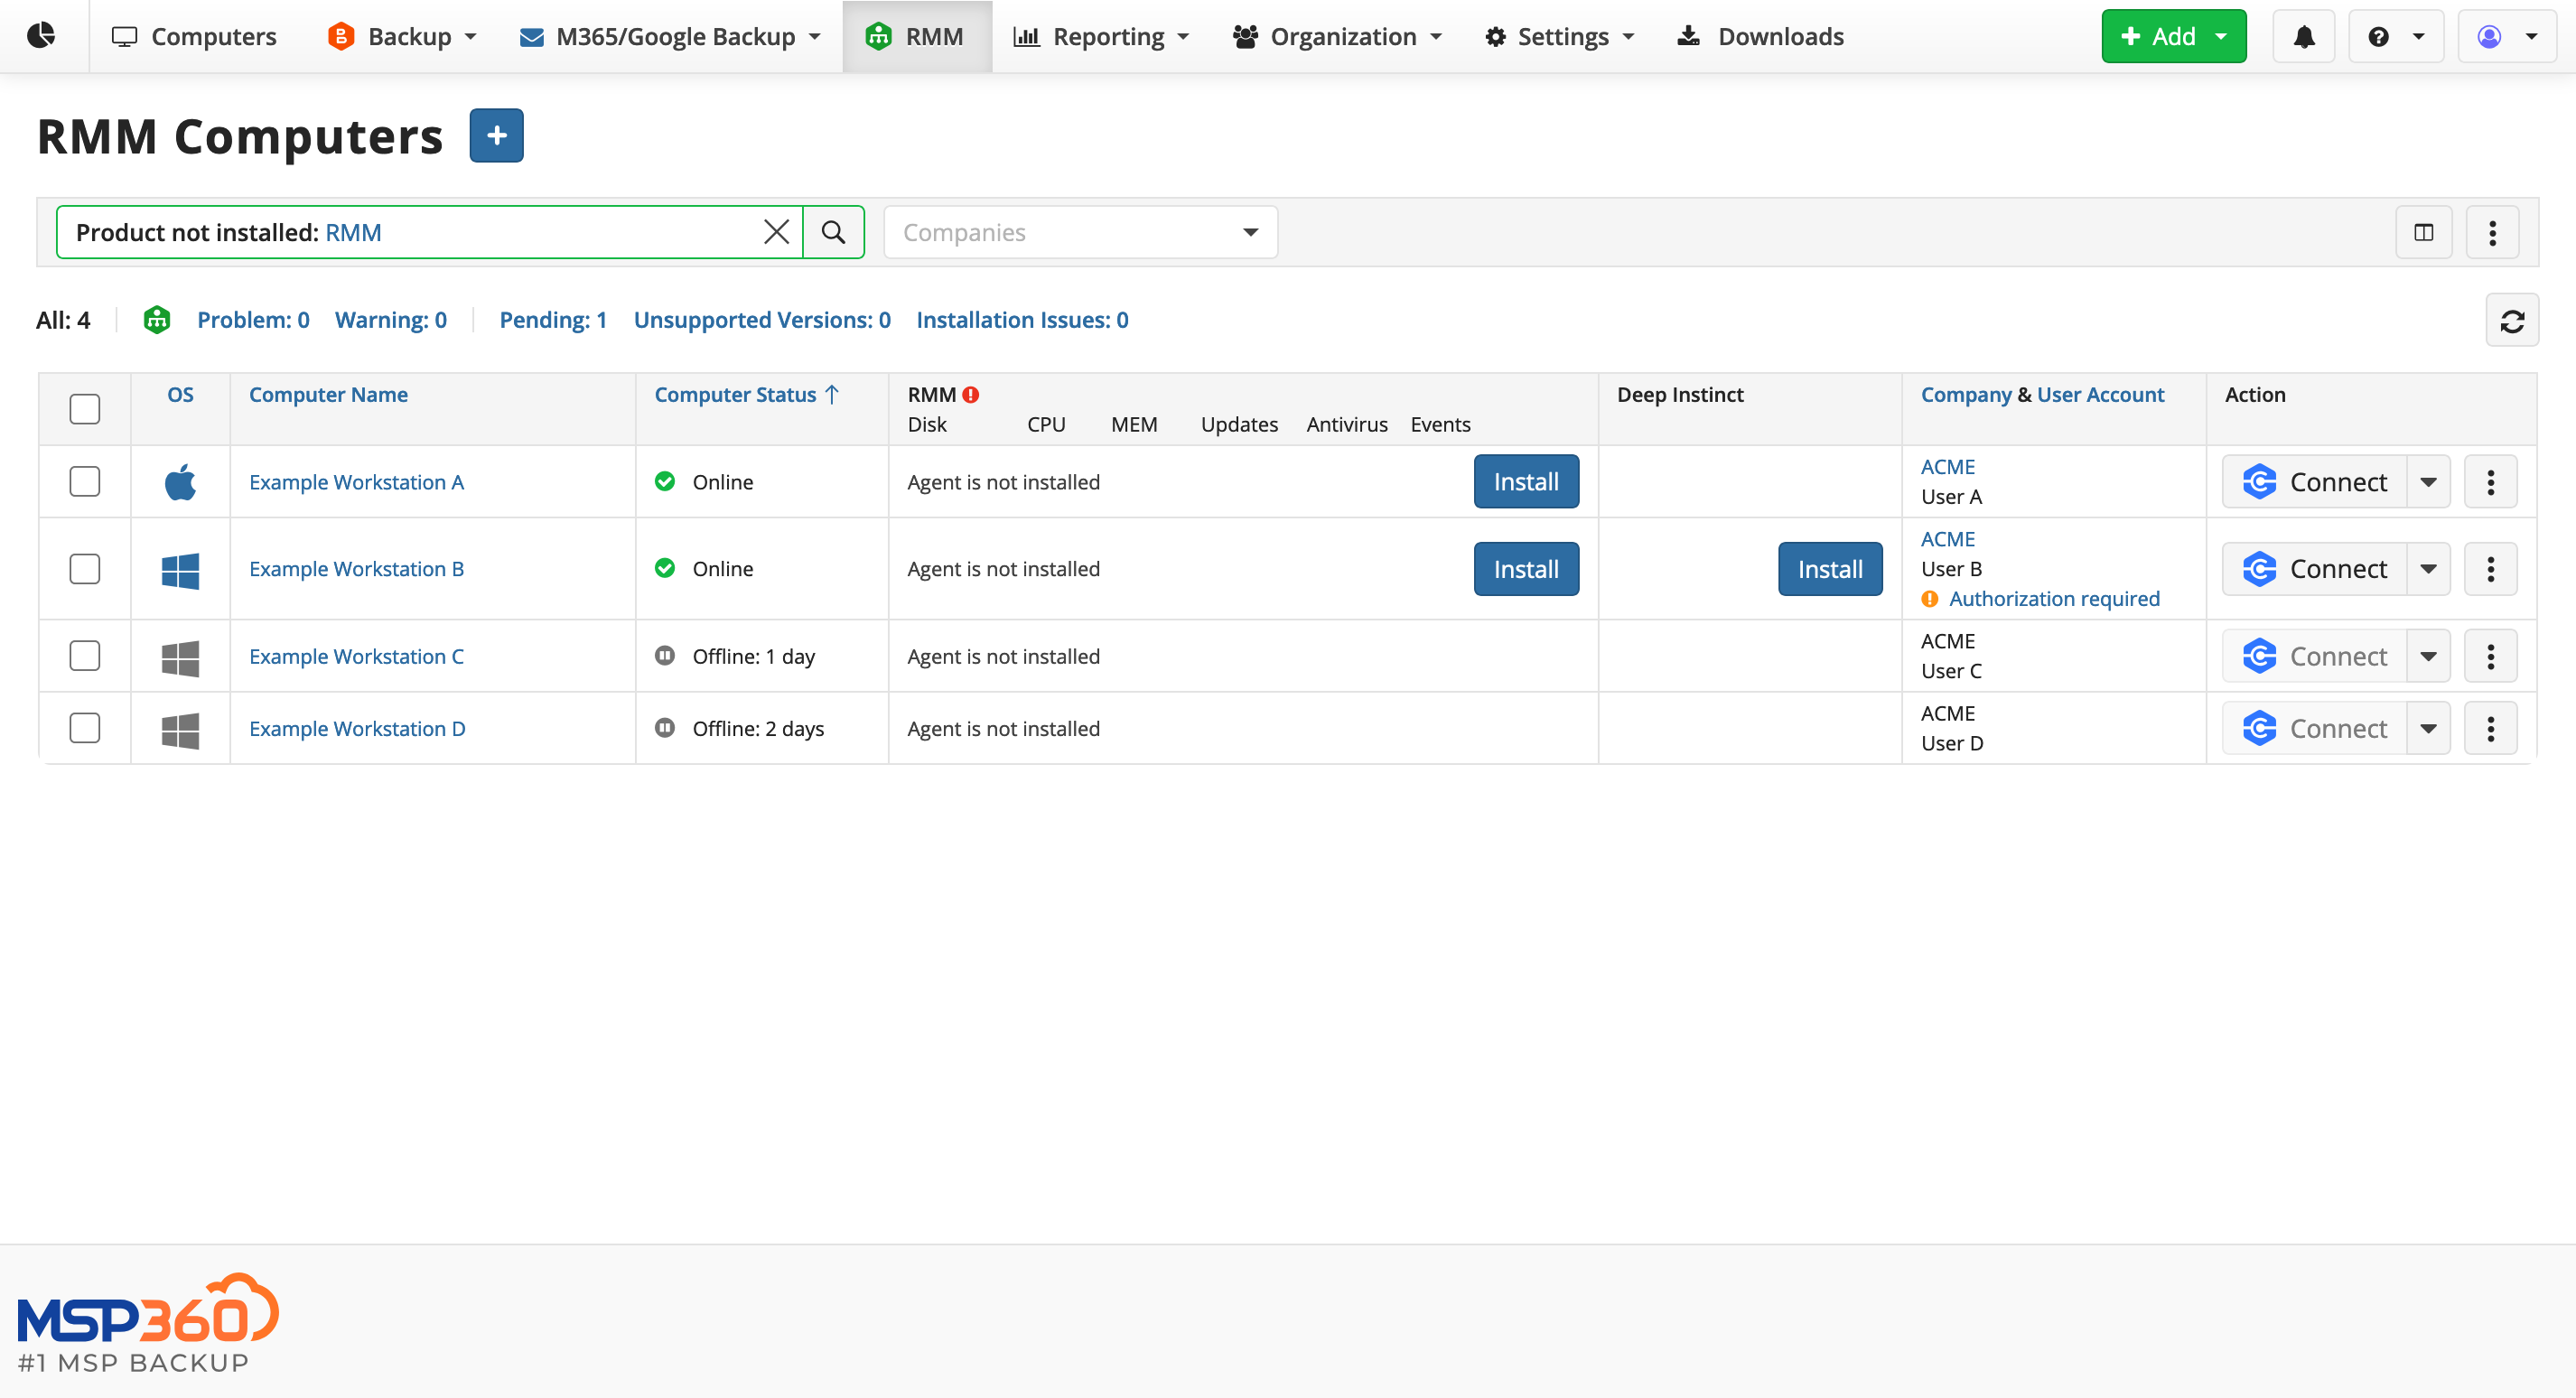
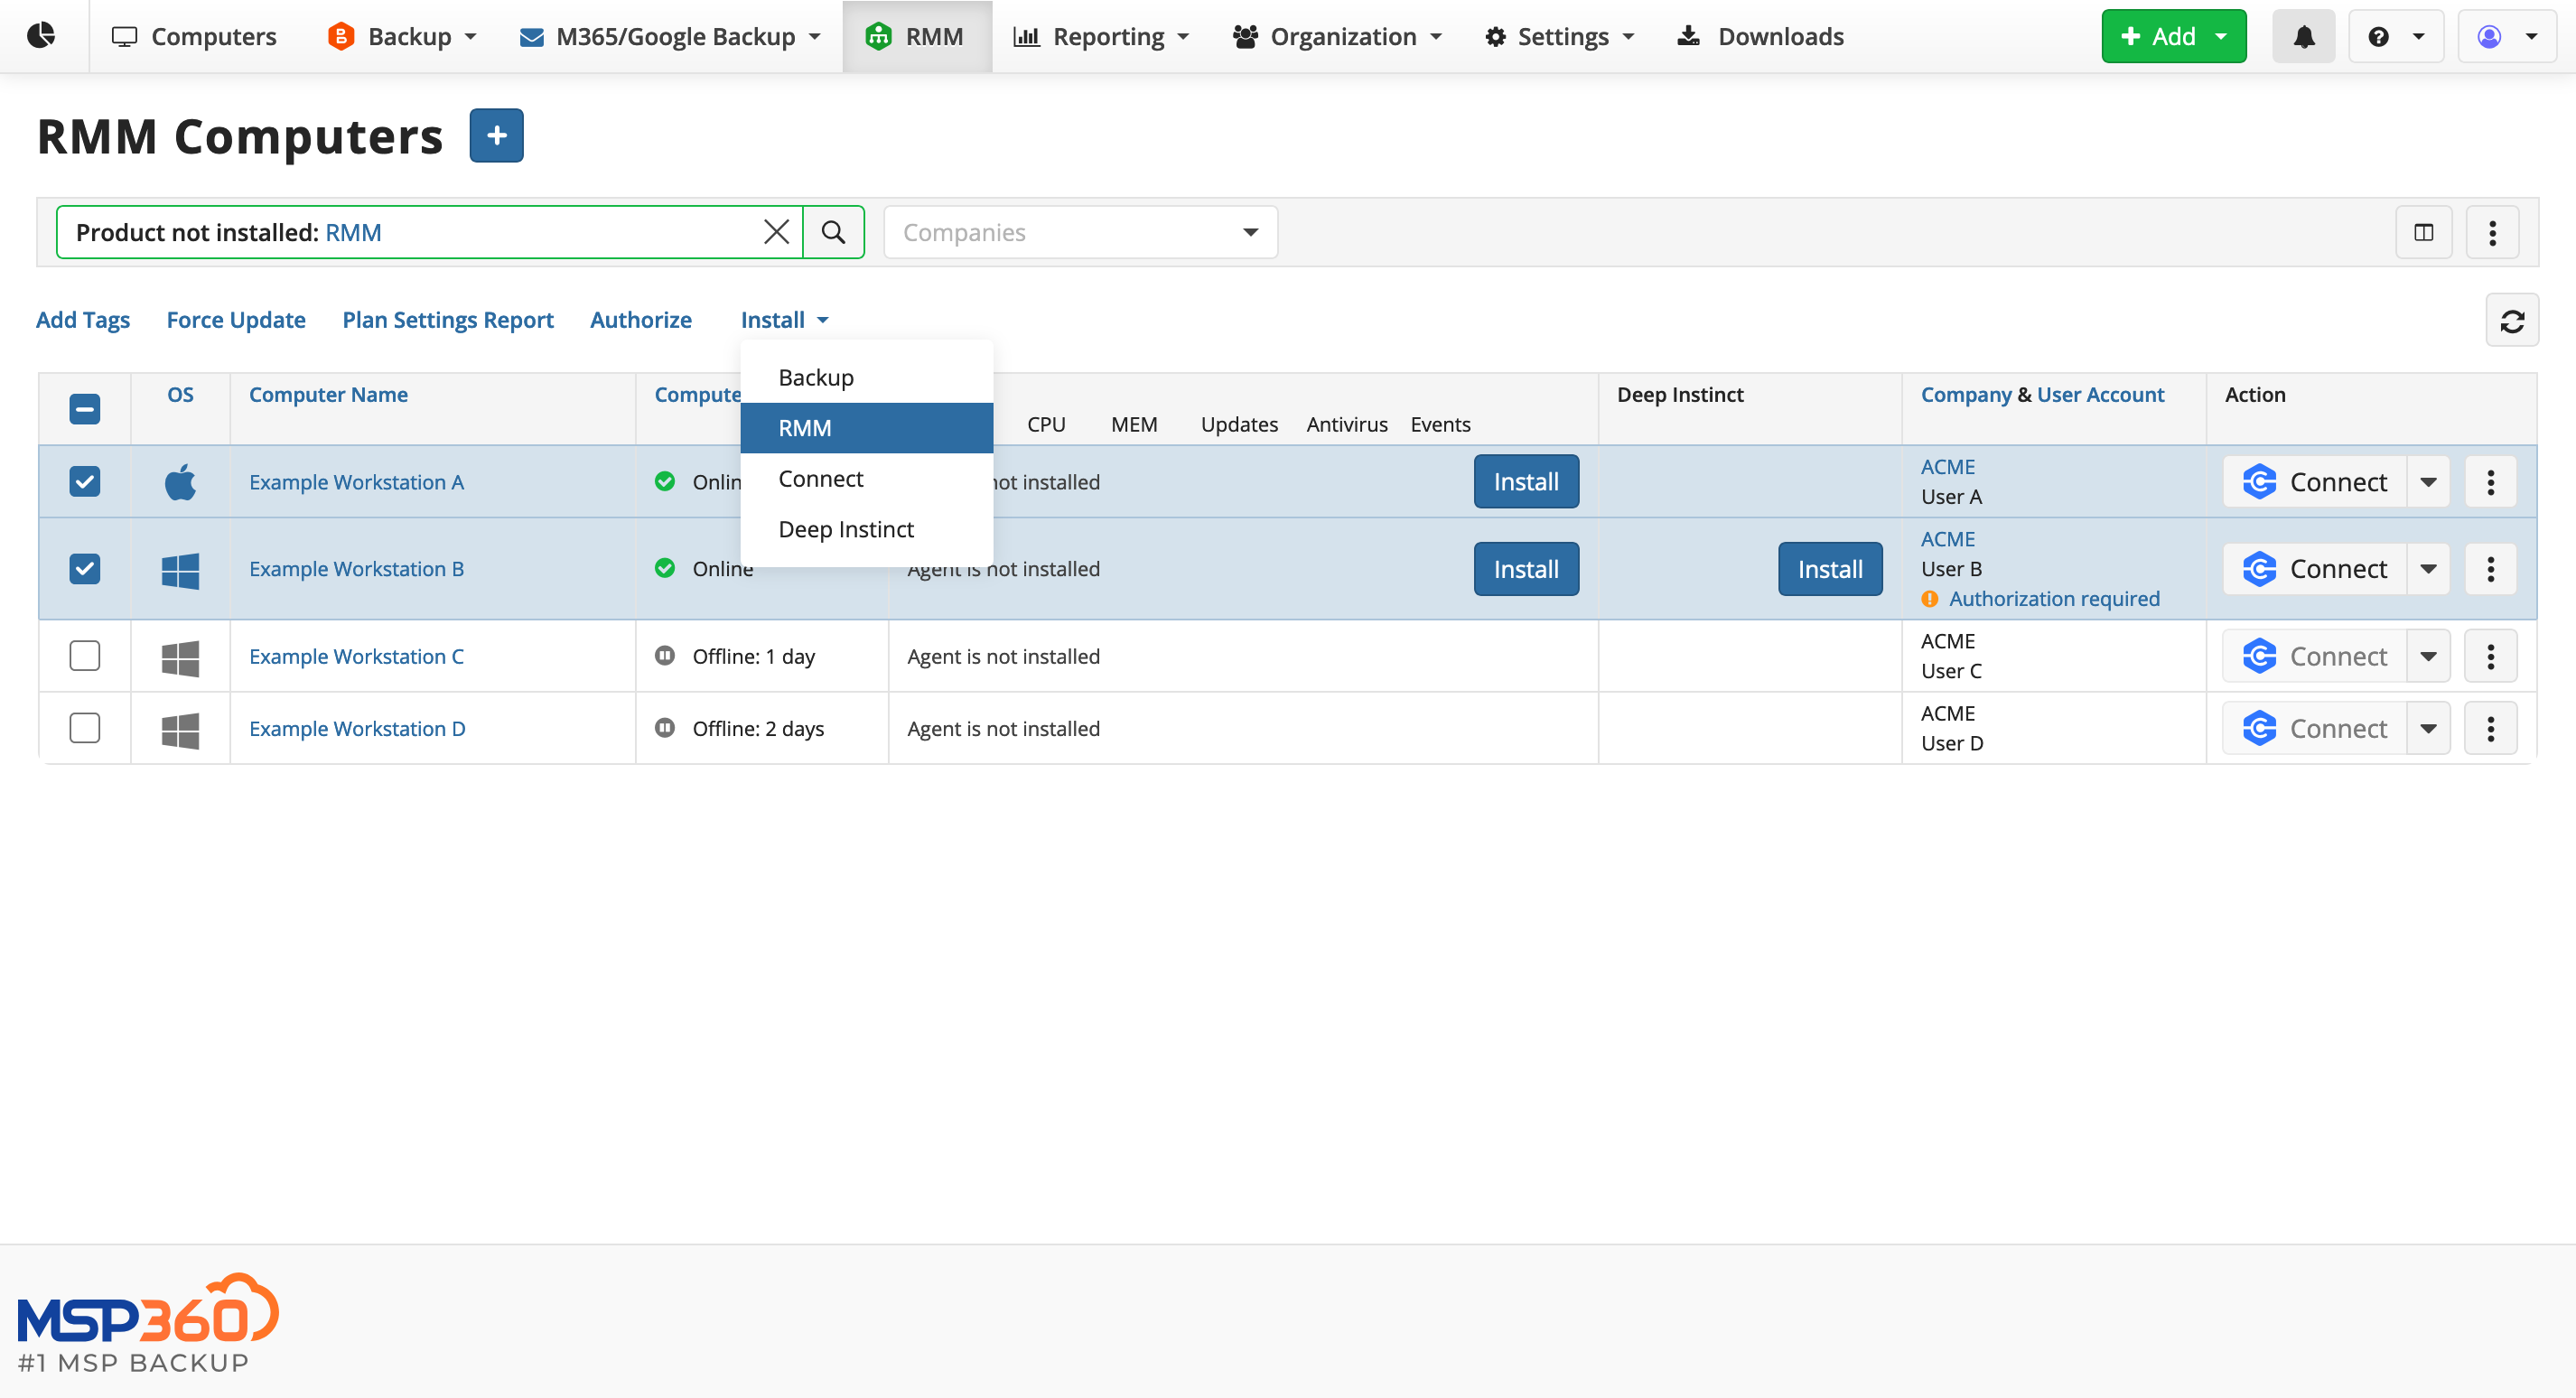
In the Management Console navigate to the Backup > Computers tab. Alternatively, use the search filter Product not installed: RMM. You will see all workstations that have Backup Agent installed, but not RMM Agent:
-
Click Install and confirm this action in the pop-up screen:
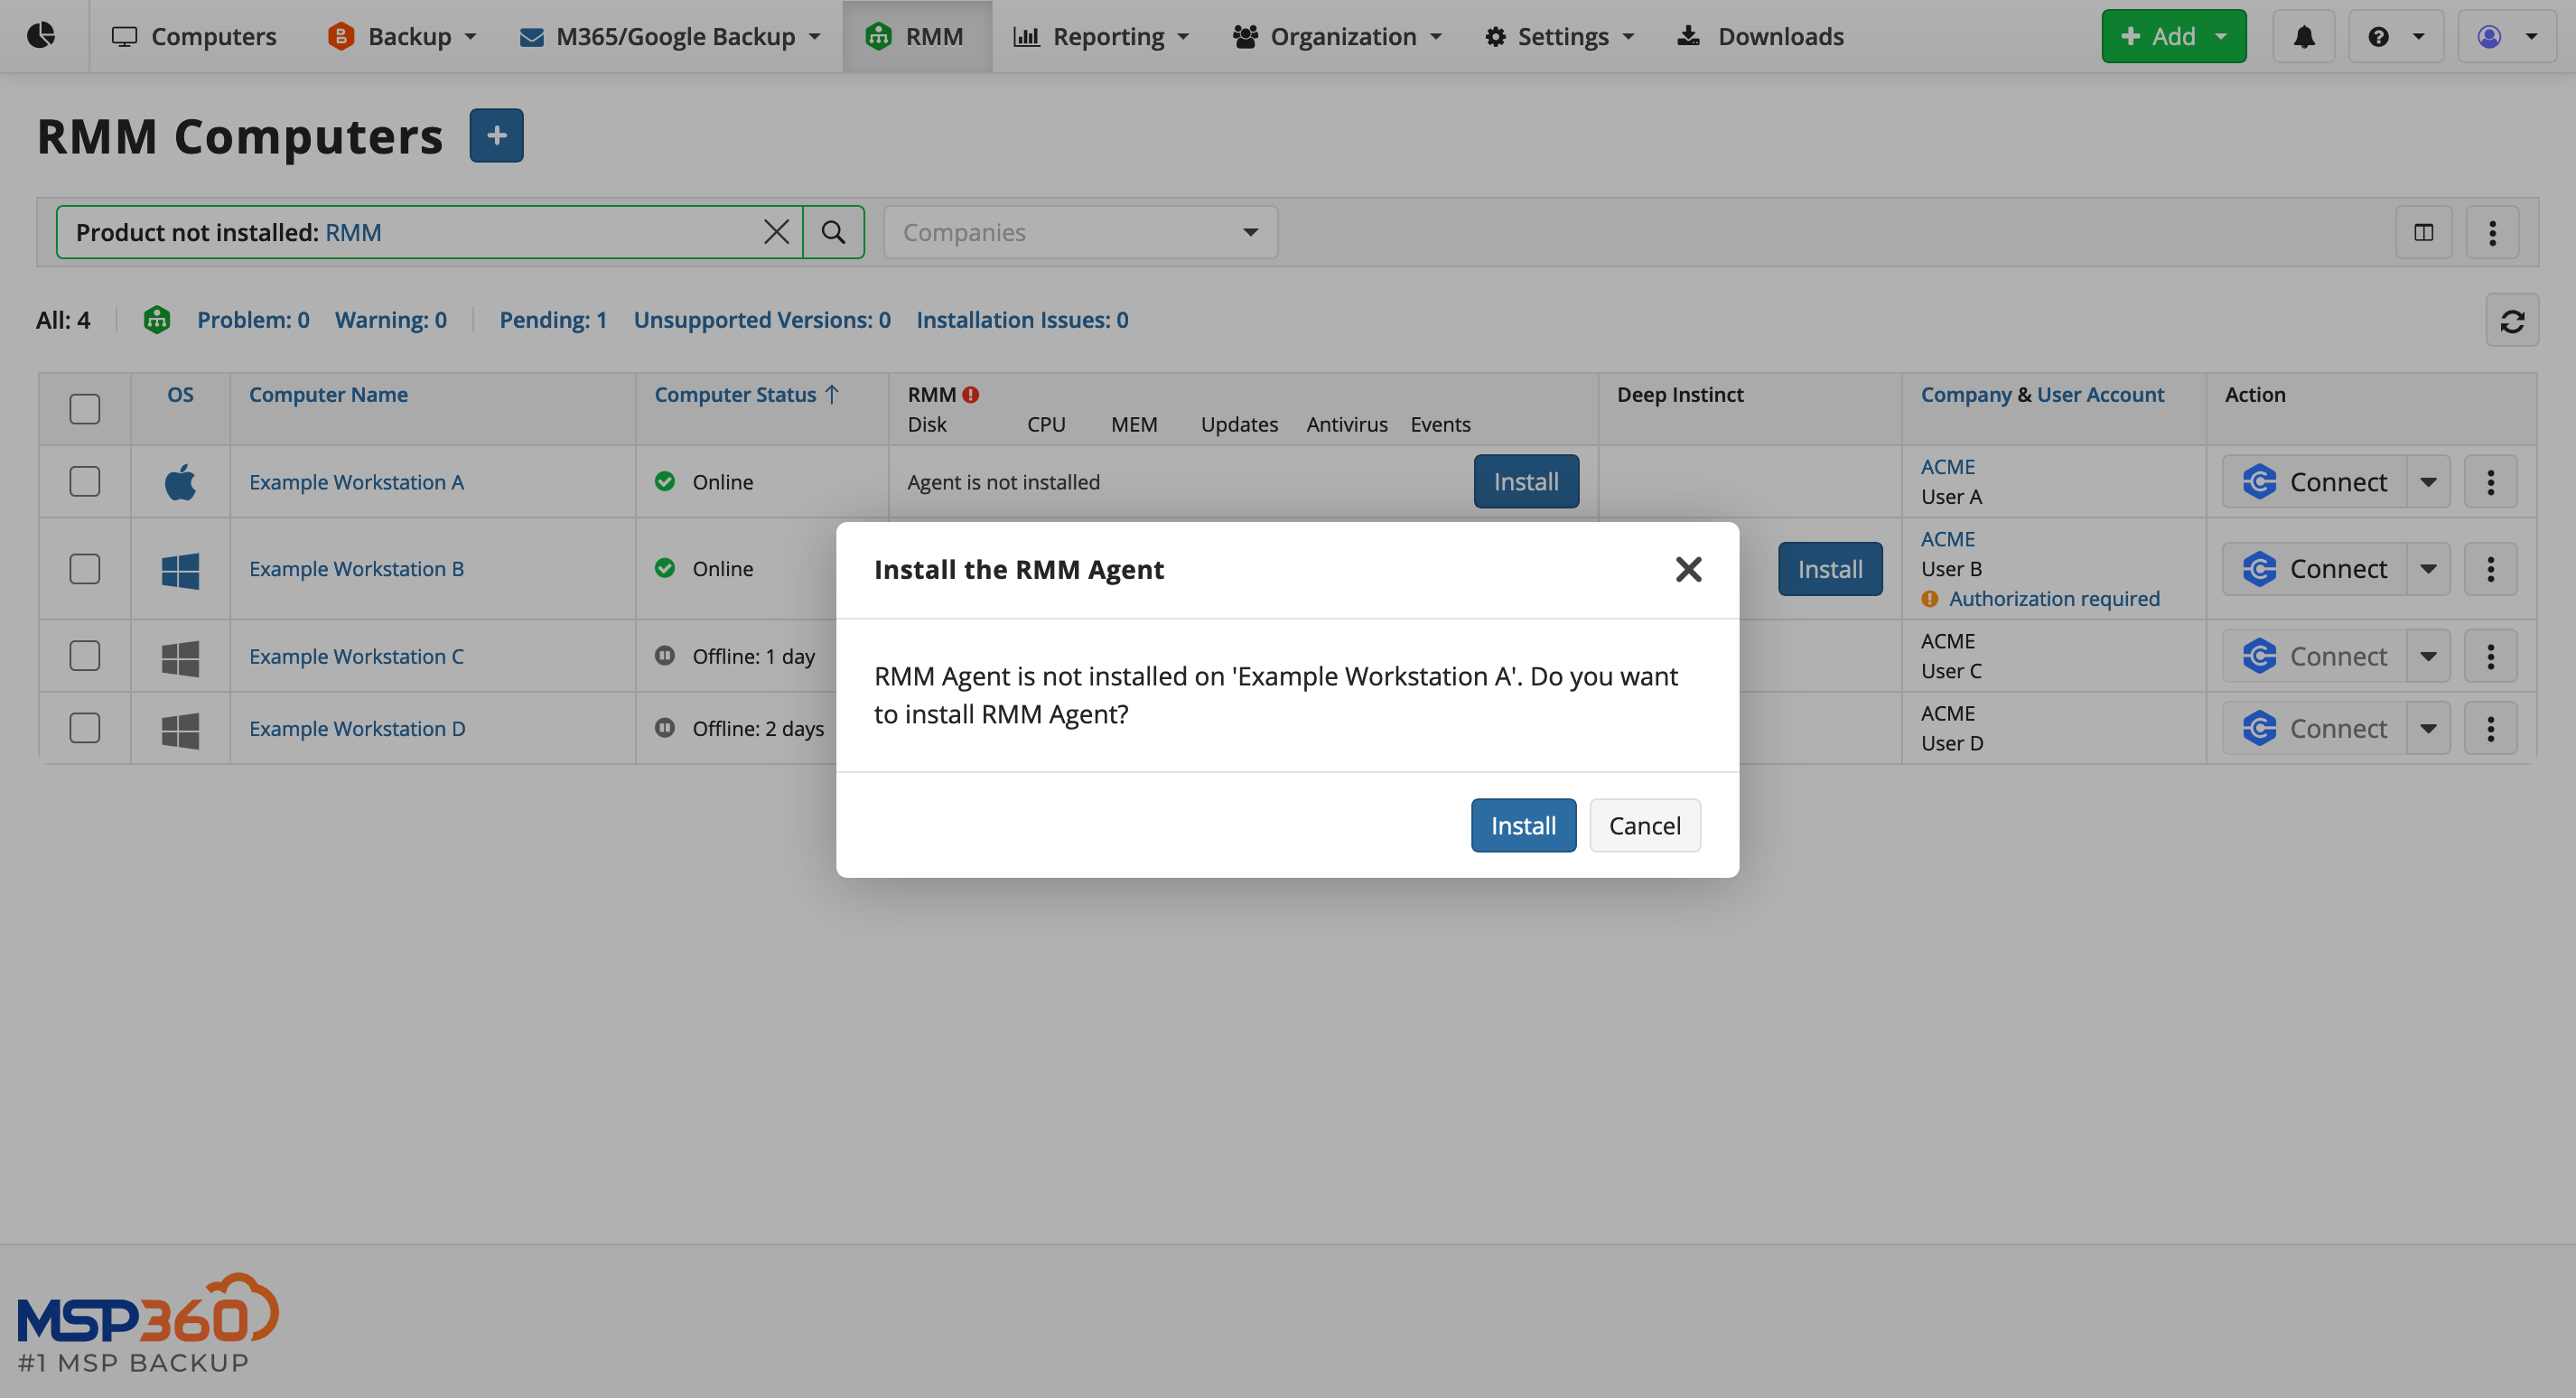
Note that you can install RMM Agents in bulk. Select all workstations where you want to install the Agent and select Install > RMM:
-
Wait until the agent is installed. The company will be assigned automatically, using the Backup Agent settings.
Should you need to deploy both Backup and RMM Agents on a new workstation, we recommend starting with RMM. Its powerful “Discover and Deploy” capability will reduce overall deployment time.
Deploy Using Third-Party RMM
Scenario: Migrate to MSP360 RMM
One more frequent scenario is migrating from a third-party RMM solution to MSP360 RMM. In such case, the optimal way is to create a Company-Specific Build and deploy it with the previous RMM.
- Download the distributive and place it on a network-shared storage where RMM can retrieve it.
- Copy Link to install RMM Agent via the previous RMM.
- Copy Installation Script and run it on the workstations via the previous RMM.
Conclusion
MSP360 RMM offers flexible and efficient installation and deployment options, ensuring it can adapt to a wide range of customer needs and scenarios. Each method is designed to minimize setup time, reduce manual effort, and provide MSPs with the tools they need to manage their clients’ environments effectively.
Getting Started Wizard gives the best experience when first exploring the product. For smaller environments or mixed operating systems, manual installation with the Download, Install, and Connect method provides a simple and straightforward approach. Meanwhile, organizations already using MSP360 Managed Backup can leverage installed Backup Agents to deploy RMM Agents. Additionally, businesses transitioning from third-party RMM solutions can use them to install a Company-Specific Build of RMM Agent for a seamless migration.
If you have any further questions, please contact our pre-sales team.
Simple. Reliable.

