MSP360 Backup supports backup and restore of Microsoft SQL Server databases. The product integrates with Microsoft SQL Server's built-in backup and restore mechanisms, provides SQL Server compression, and offers flexible scheduling, among a range of other useful options.
In this article, we’ll discuss how to restore SQL Server databases using MSP360’s solution. For instructions on the backup process, please refer to our article “SQL Server Database Backup.”
We assume that you’re already familiar with how SQL Server functions, as this article only covers the way in which MSP360’s solution interacts with SQL Server.
You need MSP360 Backup for MS SQL Server or MSP360 Backup Ultimate editions to be able to perform SQL Server database restore.
Ensure that your server is up and running and then proceed to MSP360 Backup.


How to Restore a Database in Microsoft SQL Server
Run MSP360 Backup and launch the Restore Wizard.
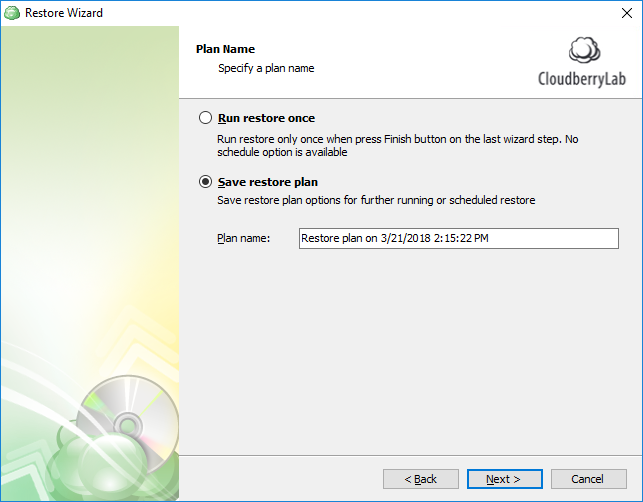
Select the cloud location or physical storage from which to restore your backup. Then select whether to Run restore just once or Save restore plan for further runs (and specify the plan name). Click Next.
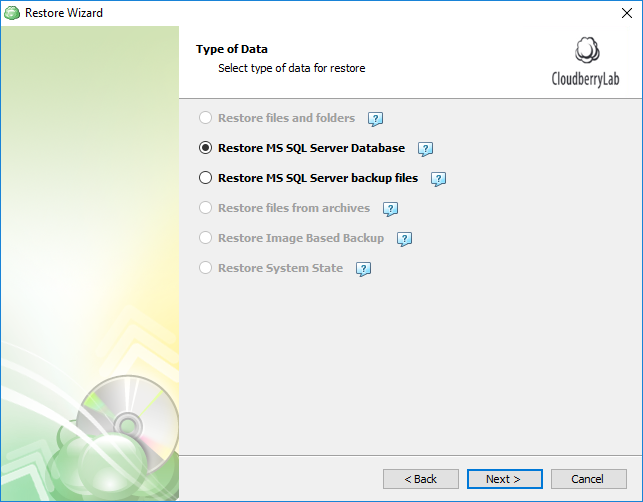
On the next wizard page, choose what kind of data you need to restore. To proceed with restoring SQL Server databases, select the corresponding option and click Next.
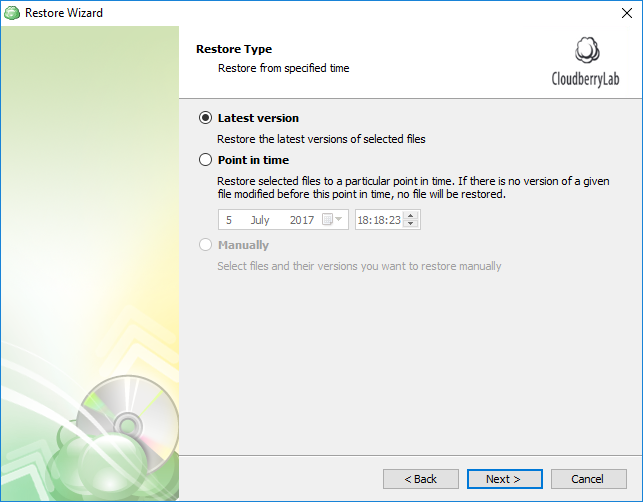
Select a version of the data you want to restore. You can choose to restore the Latest version or specify a Point in time. Click Next.
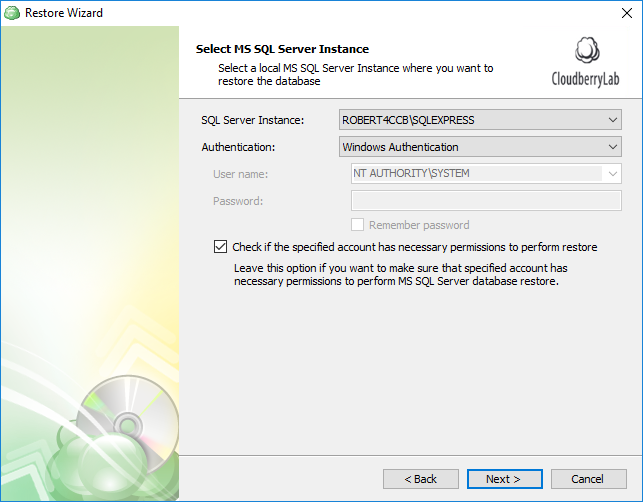
5Select the SQL Server instance, preferred authentication method and login information. Click Next.
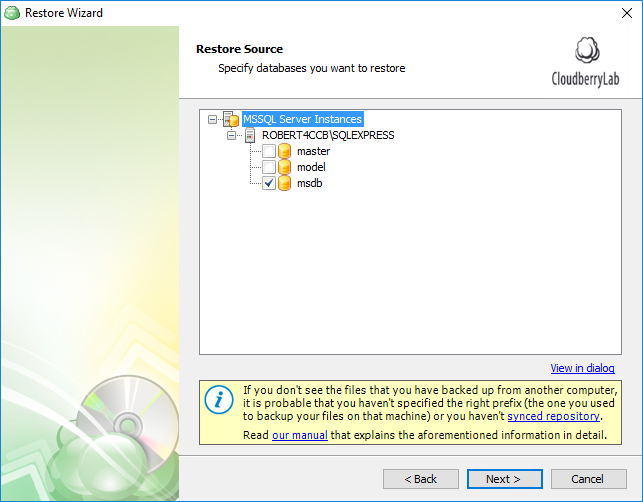
Select the databases you'd like to restore and click Next.
Choose whether to overwrite the existing databases with their restored versions and specify the names for the restored databases. If on step 3 you’ve chosen to Restore MS SQL Server Database, your databases will be restored to the destinations of their origin. If on step 3 you’ve chosen to Restore MS SQL Server backup files, this step will be skipped.
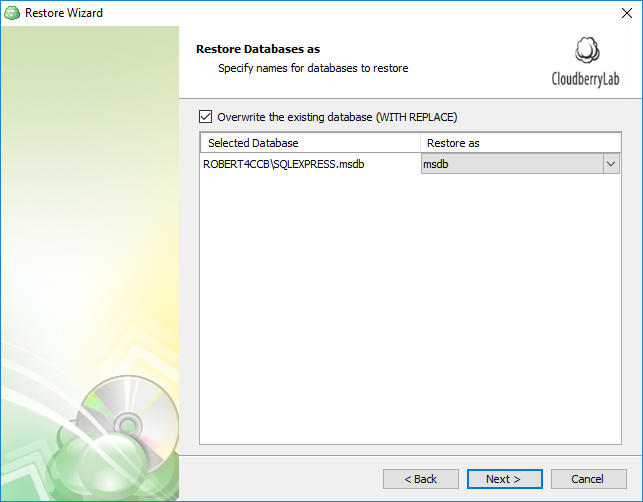
The wizard will not be able to overwrite an existing database unless you check the corresponding checkbox.
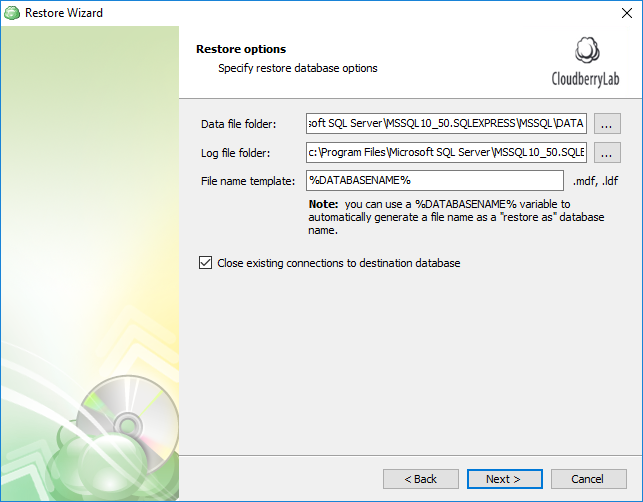
If on step 3 you’ve chosen to Restore MS SQL Server Database, configure the additional options for the restored database:
additional options for the restored database:
- Data file folder - specifies the location for MDF files.
- Log file folder - specifies the location for LDF files containing logs.
- File name template - enables you to specify a custom template for naming the restored MDF and LDF files.
You can also choose whether the backup service should close all existing connections to the destination database by enabling the corresponding option on this wizard page.
If on step 3 you’ve chosen to Restore MS SQL Server backup files, you will have to specify a destination folder for your backups and a backup file template.
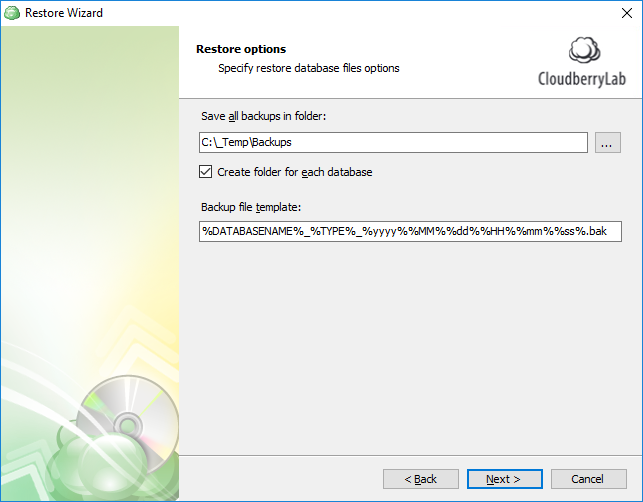
When restoring backup files from multiple databases, you can make the wizard automatically create a separate directory in the destination folder for each of these databases by enabling the corresponding option on this wizard page.
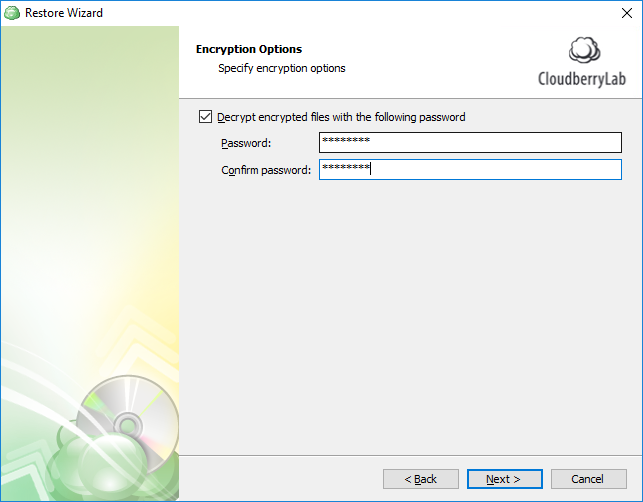
If your data was encrypted on the client side, check the Decrypt encrypted files with the following password box. Enter your password, re-enter it to confirm and click Next.
On the next few steps, configure the remaining options: create a schedule for your SQL Server database restore process if needed, customize email notifications, specify system log settings, and more.
Review the details of your MS SQL Server database restore plan and click Next to create it.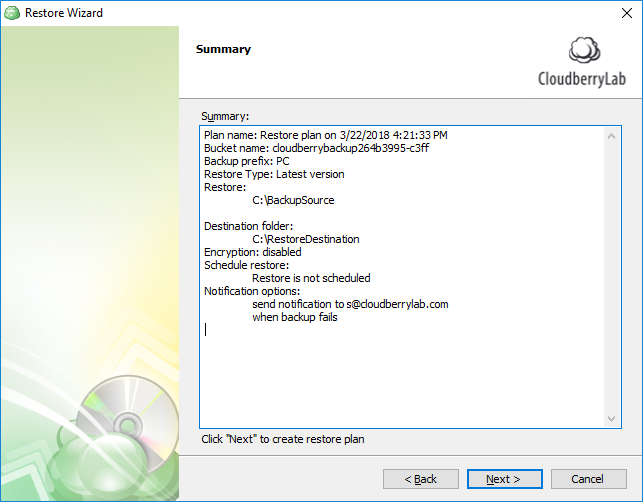
On the last wizard page, specify whether you need to start the restore process after closing the wizard (this option is available if you chose to save the restore plan previously in this wizard), and click Finish.
Your MS SQL Server database restore plan has now been created.


