MSP360 Products
Set up MSP360 Managed Backup for Microsoft 365 and Google Workspace
With MSP360 Managed Backup, you can back up and recover emails, files, and other services under Microsoft 365 and Google Workspace accounts. This guide will help you prepare to back up your data: purchase licenses, set up storage destinations, and configure your MSP360 account.

Note: MSP360 Managed Backup for M365/Google is built for centralized backup of multiple domains — ideal for MSPs, resellers, and IT teams managing several organizations. For a single domain, use MSP360 Backup for Microsoft 365 / Google Workspace — a simpler solution for individual use.
MSP360 Managed Backup for Microsoft 365/Google Workspace is suitable for three types of users. Understanding your kind helps determine how you purchase licenses, manage backups, and interact with the platform.
- Managed Service Providers (MSPs)/Resellers: Companies that offer managed IT services to other organizations and users.
- Businesses (Non-MSP/Reseller): Organizations using MSP360 to protect their Microsoft 365/Google Workspace environments.
Note: Non-MSP/Reseller customers cannot purchase licenses directly and must go through an official MSP360 reseller.
Purchase User Licenses
Backing up Microsoft 365 and Google Workspace is licensed on a per-user basis. This means that you don’t need to purchase and assign licenses to all the users in the organization, but only to those you want to back up.
For MSPs and Resellers
Post-Payment model:
If you’re an MSP/reseller, the default payment model is post-payment. You can use the product first, and your usage will be billed automatically at the end of the billing period from your account balance.
How to Link Your Card to Your Account?
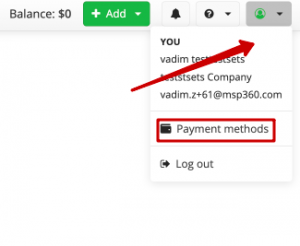
- Сlick the Account image in the top-right corner of the Management Console
- In the dropdown, select Payment methods
You will be redirected to the payment page, where you can choose one of the supported payment methods:
- Credit or debit card
- PayPal
- Google Pay
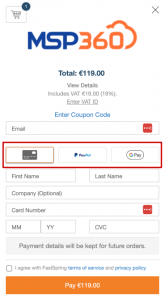
Fill in the required payment details and complete the transaction by clicking Pay or Place Your Order (for Google Pay).
Notes: A temporary $1.19 hold is placed to verify your card. It’s not a charge and will be released automatically.
How to Top Up Your Balance Manually?
To ensure your license purchases are successful, make sure your account balance has sufficient funds.
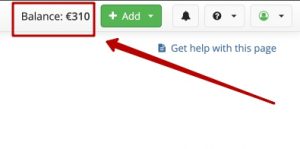
You can check your current balance in the top-right corner of the Management Console, next to the green Add button.
To add credits:
- Click the green Add button.
- In the dropdown, select Credit.
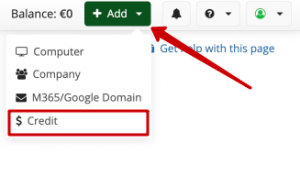
- In the Credits Value field, enter the amount you want to add.
- Click Buy.
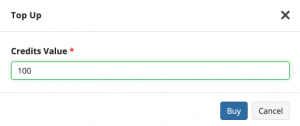
You will be redirected to the payment page, where you can choose one of the supported payment methods:
- Credit or debit card
- PayPal
- Google Pay

Fill in the required payment details and complete the transaction by clicking Pay or Place Your Order (for Google Pay).
Notes:
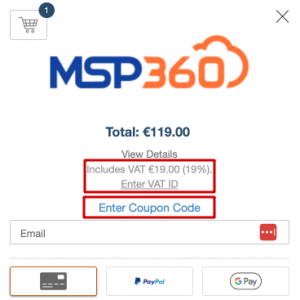
- VAT is automatically included by default. If you're placing an order on behalf of a company, enter your company's VAT ID in the Enter VAT ID field and click Submit.
- If you have a discount coupon, click Enter Coupon Code, add the code in the provided field, and click Apply to activate the discount.
- If you prefer pre-payment, contact your MSP360 account manager. Once enabled, you’ll be able to purchase licenses upfront using the following steps below.
Pre-payment model:
If your account is configured for pre-payment (If you it is not but you prefer, contact your MSP360 account manager) , you can purchase licenses in advance by following these steps:
- Click the green Add button in the top-right corner of the console.
- In the dropdown menu, select License.
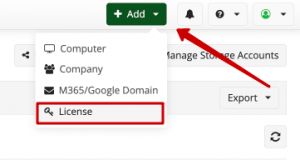
- Choose a Tab with Annual or Monthly plan
- Enter the number of licenses you need under Microsoft 365 / Google Workspace.
- Click Purchase to complete the transaction.
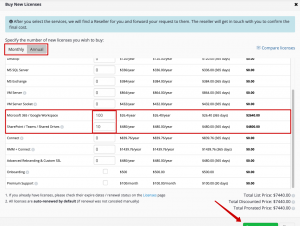
You will be redirected to the payment page. Select your preferred payment method:
- Credit or debit card
- PayPal
- Google Pay

Fill in the required payment details and complete the transaction by clicking Pay or Place Your Order (for Google Pay).
Notes:
- VAT is automatically included by default. If you're placing an order on behalf of a company, enter your company's VAT ID in the Enter VAT ID field and click Submit.
- If you have a discount coupon, click Enter Coupon Code, add the code in the provided field, and click Apply to activate the discount.
- Backing up shared drives, such as SharePoint, Teams, or Google Drive, requires a separate license that you can purchase the same way.
For Business Users (Non-MSP/Reseller Accounts)
If you manage backups for your organization and use MSP360 to protect Microsoft 365 or Google Workspace for your personal needs, you fall under the Business (Non-MSP/Reseller) account. In this case license purchase process works differently. You don't have a payment model (post- or pre-payment) by default. Licenses can only be obtained through an authorized reseller.
To request licenses:
- Click the green Add button in the top-right corner of the console.
- In the dropdown menu, select License.
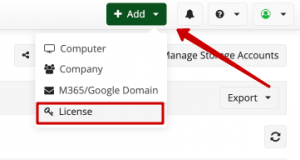
- Choose a Tab with Annual or Monthly plan
- Enter the number of licenses needed under Microsoft 365 / Google Workspace.
- Click Request a quote button.
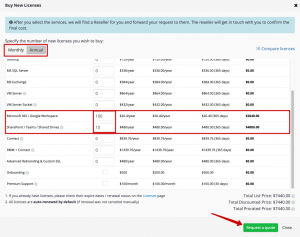
Once the request is submitted, an official MSP360 reseller will contact you to assist with purchasing and activating your licenses.
Note: Backing up shared drives, such as SharePoint, Teams, or Google Drive, requires a separate license that you can request the same way.
Set up Cloud Storage
To back up your data, you need cloud storage. You can use an existing storage account or set up a separate one for Microsoft 365 or Google Workspace.
To add a new storage account,
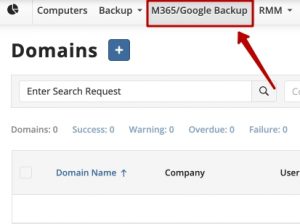
- Click the M365/Google Backup menu item
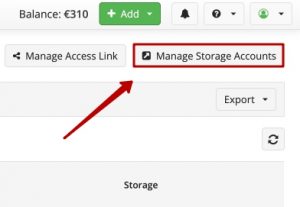
- Click Manage Storage Accounts button.
If you don’t have a cloud storage account — during the trial period, your account is automatically provisioned with 1 TB of MSP360 Storage Powered by Wasabi. It's ready to use out of the box. After the trial period you will need to add your storage or purchase the current one.
If you already have a cloud storage account, click Add Account to start the setup wizard.
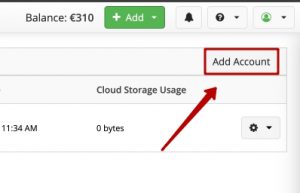
You will need to choose a storage provider and then to specify a bucket or container and provide access credentials. Refer to the Storage Providers documentation for detailed instructions.
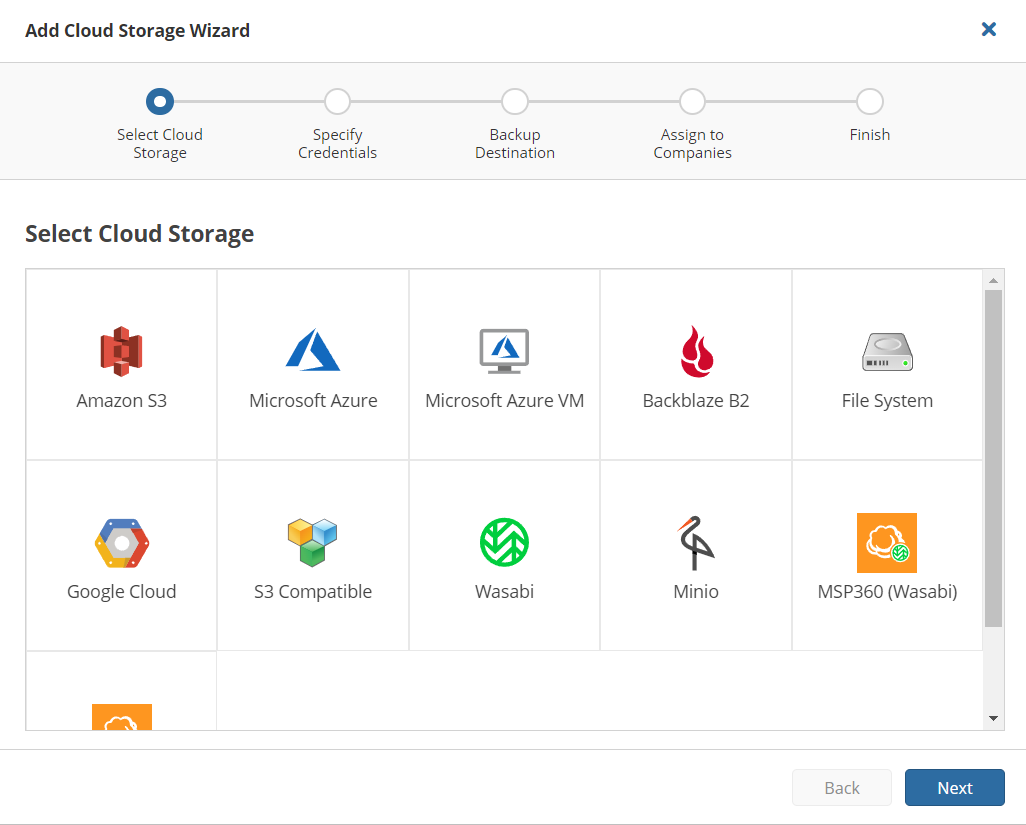
Set up the M365/Google Backup Access Link
You and your customers will use a separate Service Dashboard to manage M365 and Google Workspace backups. To access this, you need to set up a domain alias, for example “acme” for acme.apps.mspbackups.com.
- Click the M365/Google Backup menu item

- Click Manage Access Link button.
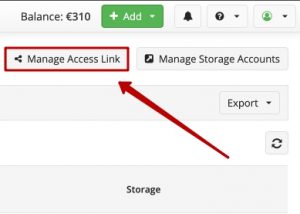
- Add an alias and click the Save button.
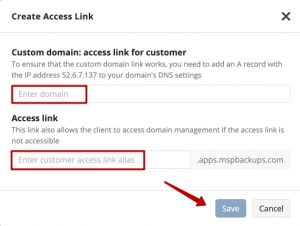
You can also use a unique link with your domain, set up a subdomain of your company’s domain, such as backup.acme.com, with the Advanced Rebranding & Custom SSL License. Learn more in the documentation on rebranding the dashboard.
Add a Backup Account
After you have purchased licenses, added a storage destination, and created a domain alias, it’s time to set up a backup account. Start by adding the domains or emails to back up.
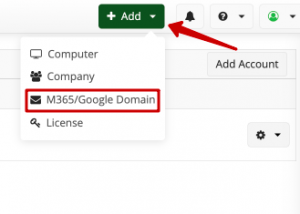
- Click the green Add button.
- In the dropdown, select M365/Google Domain.
- Domain(s): add the Microsoft 365 or Google account that you want to back up by specifying its unique domain name.
- Company: select the name of the customer organization.
- Backup Destination: select one of the backup destinations available to the company above.
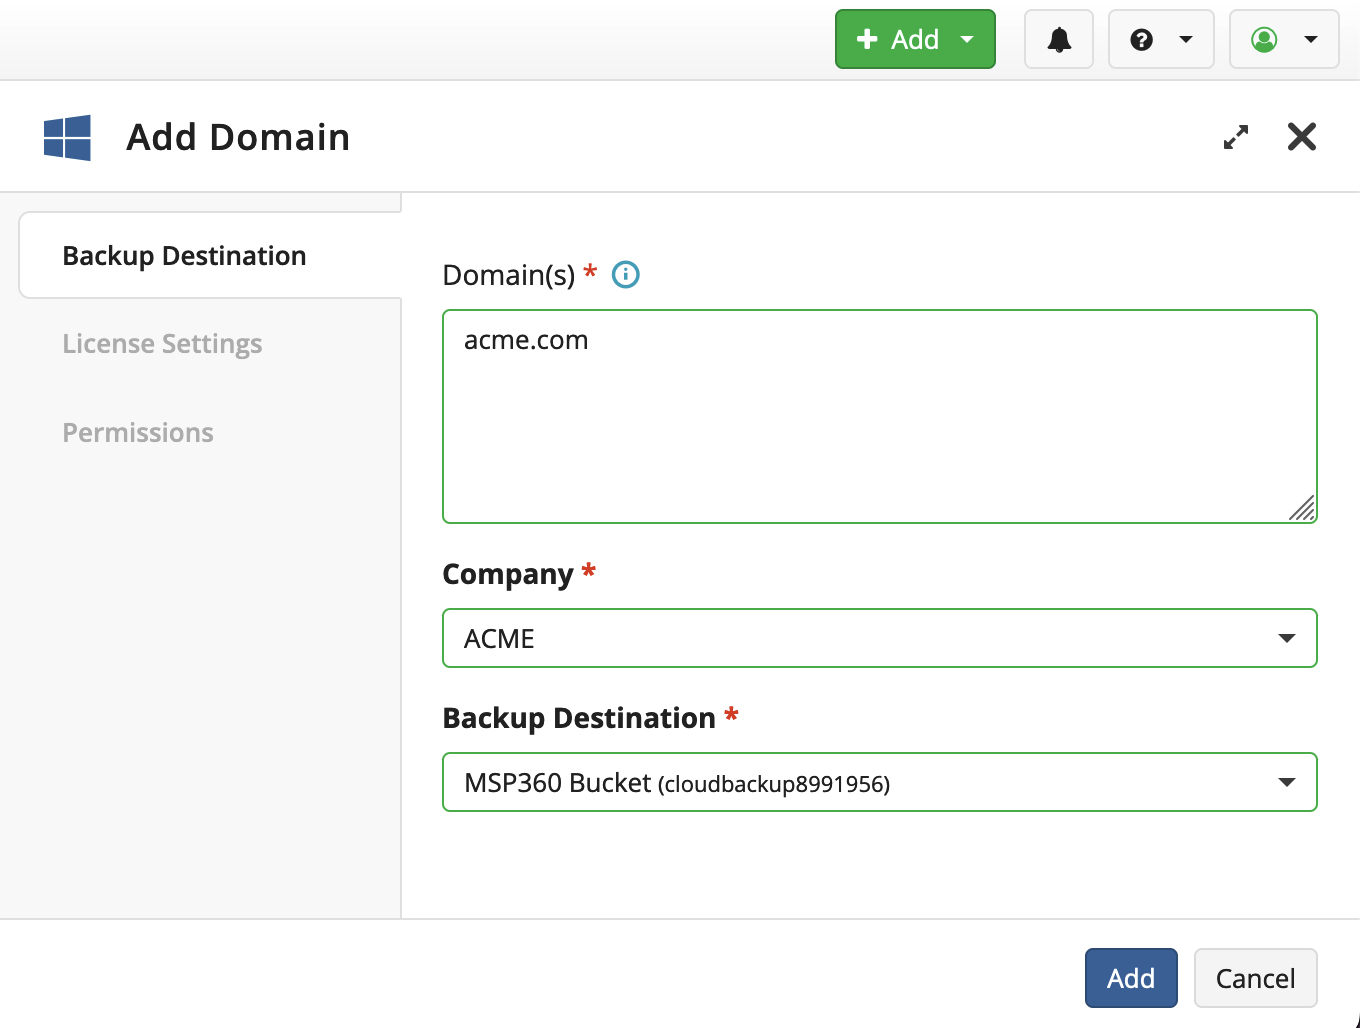
Once you’ve filled in all the fields, click the Add button. You will see the new domain in the table. Now you can edit the domain to change settings, such as license assignment rules and storage limits.
Further reading Top 6 Critical Mistakes in Microsoft 365 Data Protection
That’s it. Now you can configure your account in MSP360 Managed Backup for Microsoft 365 and Google Workspace. If you have any further questions, feel free to contact our pre-sales team.

