We are glad to announce that starting from this release, MSP360 Explorer for Microsoft Azure supports Azure File storage! Using MSP360 Explorer, you can now easily create a new Azure File storage account, add new file shares and effectively manage your data on these file shares.
In this post, we will focus on the following topics:
- Getting Started with Azure File storage
- Using MSP360 Explorer to manage Azure File storage
Getting started with Azure Files
To request the access to Azure Files storage, go to Microsoft Azure Preview page. On the preview page, scroll down a little bit and hit the Try it button next to the Azure File section.
 Sign in to your Microsoft account to get to the Azure File service. If you don't have Microsoft account yet, you can go ahead and create one: https://signup.live.com/
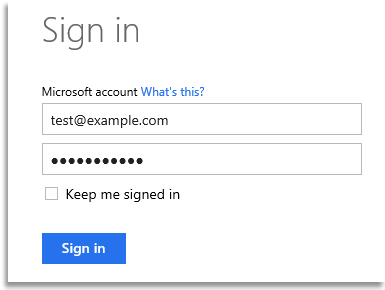 Once you are in, you'll be prompted to sign up for a new subscription. If you don't have any subscription at all, you can sign up for a 1-month free trial.
 After you've signed up, you'll need to wait for Microsoft to send you an approval notification. Once you receive the notification, you'll be ready to create your new Azure storage account.
As mentioned earlier, existing storage accounts don't have access to Azure Files, so you'll have to create a brand new storage account specifically for this service. You can find our step-by-step instruction on how to create a new Azure storage account in the following blog: How to sign up for Microsoft Azure.
Using MSP360 Explorer to manage Azure File storage
Launch MSP360 Explorer, click File and choose New Azure File Storage Account. In the dialog box, give your account a name and specify your Account and Shared key values. If you have Azure Government storage account and want to use it with MSP360 Explorer, just check the ''Government account" checkbox.
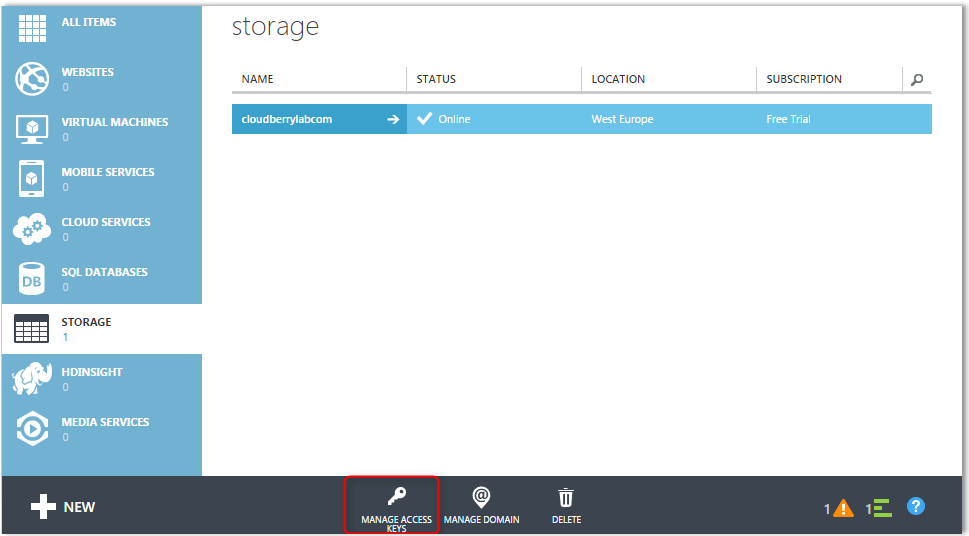
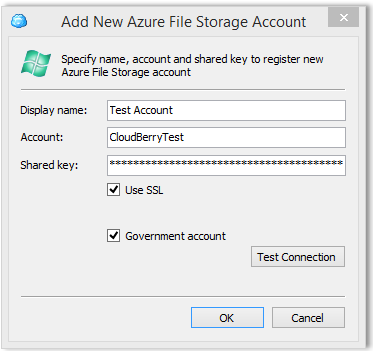 Note: In order to find your Account and Shared key values, go to Microsoft Azure Management Portal and click the "Manage Access Keys" button at the bottom of the screen.
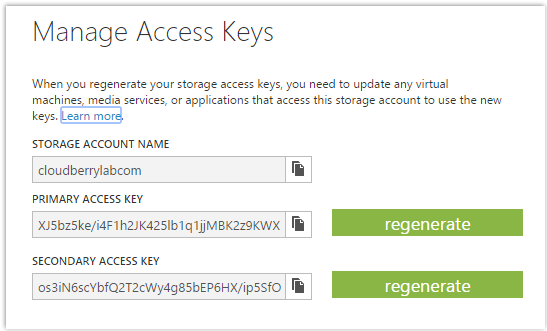
 Storage account name is what you use for the Account, and Primary access key is what you use for the Shared key. Use the "Copy" icons next to the corresponding fields and save their values to the text file.
 After a new Azure File storage account is created, you will be able to choose it in the Source drop-down menu.
To create a new File share, navigate on the New Share icon on the toolbar.
To create a new folder in your File share, click New Folder icon on the toolbar and give it a name.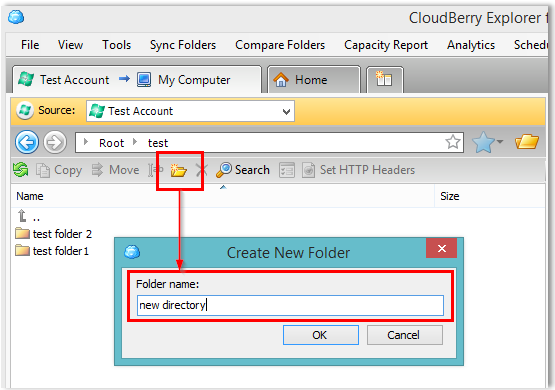 If you want to upload some files into your File share from your computer or other storage, just use the Copy or Move icons on the toolbar.
Conclusion
This release of MSP360 Explorer makes it one of the first tool on the market to support with Azure File storage.

