We constantly work to improve MSP360 Backup. Now, with the release of MSP360 Backup 3.8 we are glad to present a brand new feature that significantly enhances the capabilities of our backup solution - Cloud to Local Backup. With Cloud to Local Backup functionality comes the valuable ability to automate the transfer of any kind of data kept in the cloud to a local or network drive.
How to Use Cloud to Local Backup
1. Run MSP360 Backup application.
2. Click on the “Cloud to Local” icon on the toolbar or open the "File" menu and click "Cloud to Local".
![]()
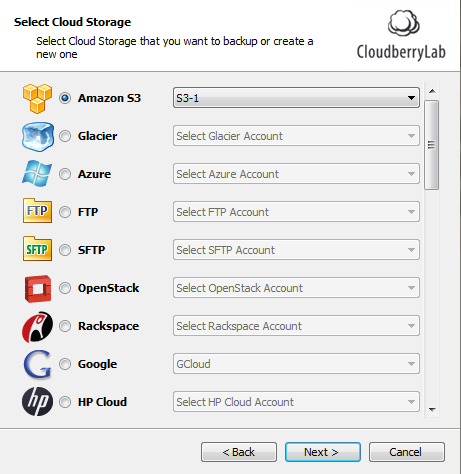
3. Specify cloud storage you want to back up data from. Click “Next”.
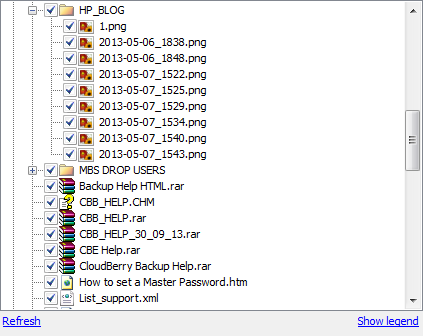
4. Select buckets or objects within your cloud storage account you want to back up. Click “Next”.
5. Select a File System Account from the drop-down list. This account will be a destination for your Cloud to Local backups.
If you don't have a File System Account registered:
- Click on the "<Create a new account>";
- Specify any Display Name of your choice;
- Specify a path to a destination folder on your local or network drive;
- Click "OK".
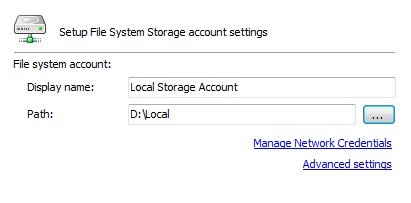
Once the Local Storage Account is selected, click “Next”.
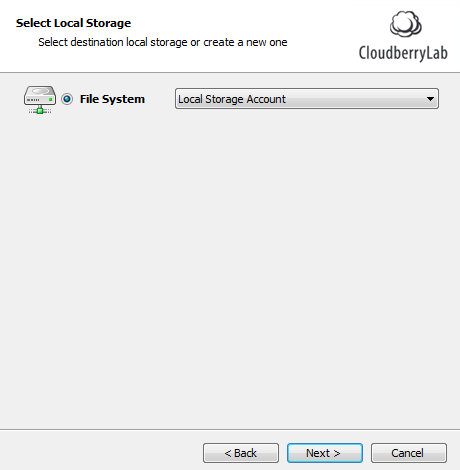
6. Proceed with a few further steps of Backup Wizard as usual.
7. Specify schedule options for your Cloud to Local backup plan.
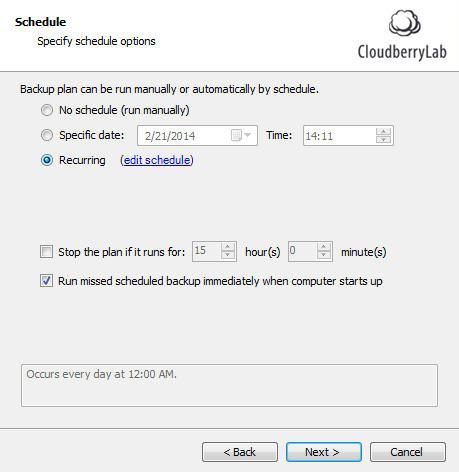
8. Finish with the remaining steps of the Backup Wizard.
9. To run a backup plan instantly, check the "Run backup now" box on the Finish Screen of the Backup Wizard. Also, you can run a backup plan any moment you want from the “Backup Plans” tab.
Conclusion
With the new Cloud to Local Backup feature users of MSP360 Backup get a valuable ability to back up their cloud data. If you have an application, website, or any other kind of data that resides in the cloud and want to have always an up-to-date copy of such data locally, MSP360 Backup with new Cloud to Local Backup functionality may become a perfect solution for you.


